
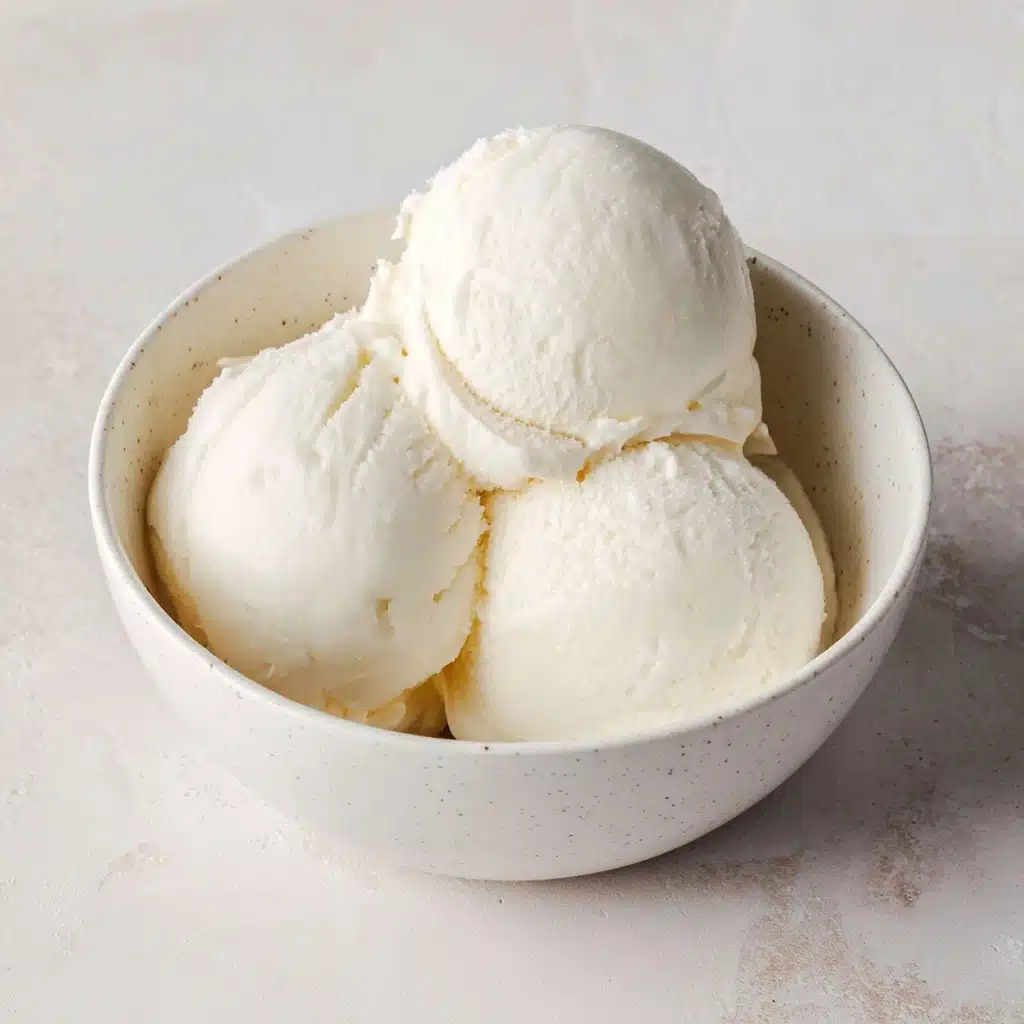
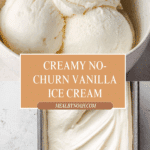
No Churn Ice Cream Recipe
If you crave the lush, creamy goodness of homemade ice cream but don’t have an ice cream maker, you’ve just struck culinary gold with this No Churn Ice Cream Recipe. This brilliant treat uses just four simple ingredients, a little mixing, and a spot in the freezer for a perfectly scoopable delight. It’s every bit as decadent as your favorite parlor scoop, endlessly customizable, and ridiculously easy — you’ll never want to go back to the store-bought stuff!
Ingredients You’ll Need
The beauty of this recipe lies in its simplicity. Each ingredient is carefully chosen for maximum flavor, creaminess, and that irresistible homemade charm. Your No Churn Ice Cream Recipe springs to life with the following
- Sweetened condensed milk: This thick, milky base provides all the sweetness and helps keep the ice cream soft and scoopable, no churning needed.
- Vanilla extract: Just a couple teaspoons for classic flavor, or swap in your favorite extract to customize — this is your flavor foundation.
- Sea salt: A tiny pinch brightens the sweetness and deepens every bite — don’t skip it!
- Heavy cream: Whipped until fluffy, it gives the signature airy, luscious texture you won’t believe came from your own kitchen.
How to Make No Churn Ice Cream Recipe
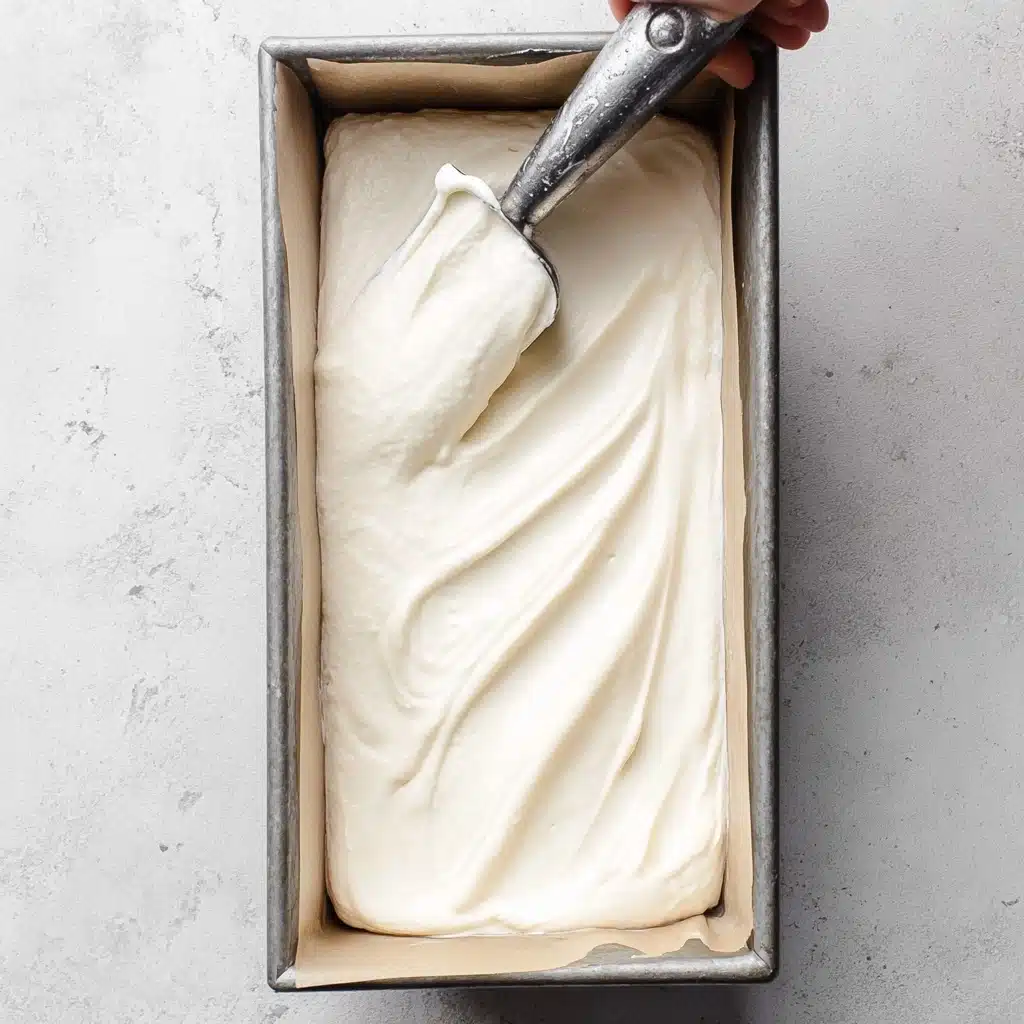
Step 1: Prepare the Pan
Start by lining a 9×5 loaf pan with parchment or wax paper, making sure it covers the bottom and sides. This simple step prevents sticking and makes lifting your No Churn Ice Cream Recipe out for slicing a total breeze. Pop the pan in your freezer while you work — the chill helps your mixture set even faster.
Step 2: Mix the Base
In a large, chilled mixing bowl, whisk together the sweetened condensed milk, vanilla extract, and a pinch of sea salt. This is where the magic really begins — every wonderful flavor is concentrated here, so whisk it until smooth and silky.
Step 3: Whip the Heavy Cream
Grab another large, chilled bowl. Pour in your heavy cream and start whipping! Use a hand mixer or stand mixer to beat the cream until it holds stiff peaks, about 3-4 minutes. This step creates that irresistible, cloud-like texture you love in truly great ice cream.
Step 4: Fold and Combine
Gently fold half of the whipped cream into the sweetened condensed milk mixture with a spatula, lightening the base. Once combined, add the rest of the whipped cream and fold until you see no streaks. Go gently — you want to keep as much air in the mixture as possible for that perfect mouthfeel that makes the No Churn Ice Cream Recipe so special.
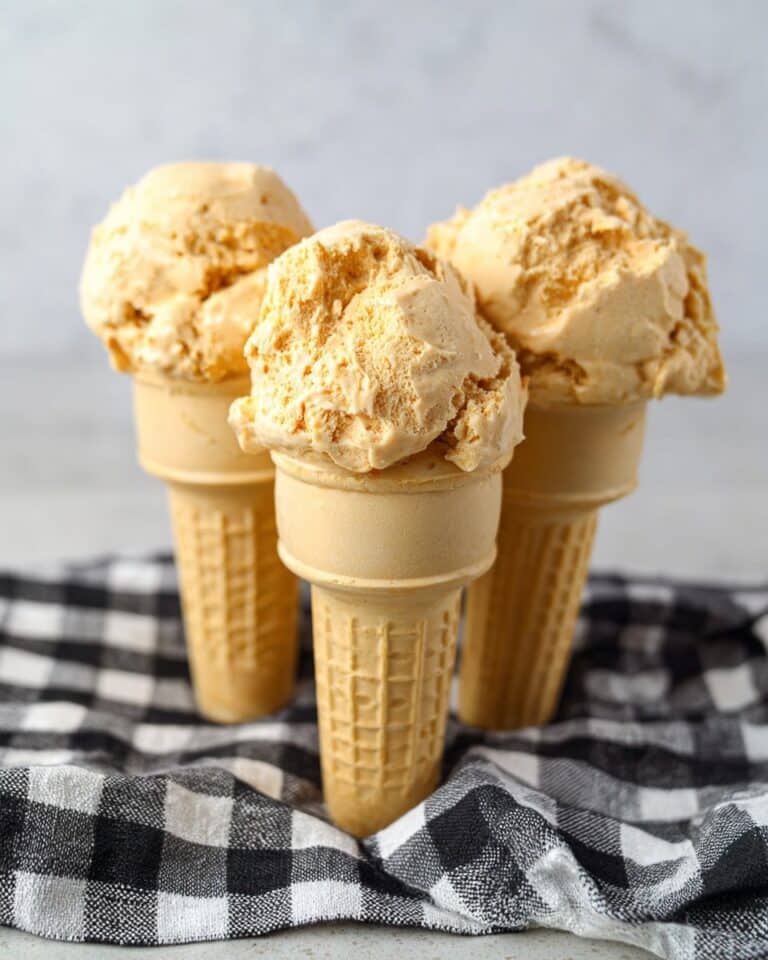
Step 5: Add Your Favorite Mix-Ins
This is your chance to make it your own! Fold in chocolate chips, caramel swirls, peanut butter ribbons, or tangy freeze-dried fruit. If you’re feeling adventurous, why not try a swirl of lemon curd or espresso powder? The No Churn Ice Cream Recipe is a true blank canvas for your flavor imagination.
Step 6: Freeze to Perfection
Pour the finished ice cream mixture into your lined, chilled loaf pan. Smooth the top with a spatula for an even set. Cover with plastic wrap or foil to keep out freezer odors. Place in the freezer for at least 4 hours, preferably overnight, until the ice cream is firm and scoopable. Patience pays off!
How to Serve No Churn Ice Cream Recipe
Garnishes
The final flourish makes each scoop pure joy. Top with crushed cookie crumbs, a drizzle of chocolate or caramel sauce, toasted nuts, or cheerful sprinkles. Even a pinch of flaky salt takes your No Churn Ice Cream Recipe to the next level and shows off that homemade touch.
Side Dishes
If you’re serving guests or simply feel like treating yourself, pair your ice cream with warm brownies, freshly baked cookies, or a buttery pound cake. The cold, creamy texture is heaven alongside a crisp waffle cone or sandwiched between two soft cookies. You get to play dessert architect!
Creative Ways to Present
The possibilities are endless! Freeze in popsicle molds for individual treats, scoop into vintage teacups for a nostalgic vibe, or layer with fruit and cookies in a glass for a quick ice cream parfait. However you present it, your homemade No Churn Ice Cream Recipe will look fabulous and taste even better.
Make Ahead and Storage
Storing Leftovers
To keep your ice cream irresistibly fresh, store it tightly covered in the freezer. A layer of plastic wrap pressed directly onto the surface, then covered with foil, will prevent ice crystals from forming. The No Churn Ice Cream Recipe stays delicious for up to two weeks — though it rarely lasts that long!
Freezing
You can freeze the ice cream right in the loaf pan, or transfer it to an airtight container for a neater scoop. If you’re planning to make several varieties at once, smaller containers are great for storing different flavors and add-ins. Always label so you know what deliciousness awaits inside.
Reheating
Ice cream is best served slightly softened, so let your No Churn Ice Cream Recipe sit at room temperature for 5 to 10 minutes before scooping. That short wait means velvet-smooth scoops, every time — no microwave required!
FAQs
Can I use low-fat or dairy-free alternatives in this No Churn Ice Cream Recipe?
Whole milk versions of sweetened condensed milk and heavy cream are what create the signature creaminess. Using lower-fat or dairy-free alternatives may change the texture, but full-fat coconut cream and coconut condensed milk can be fun vegan swaps to try!
What if I don’t have a hand mixer or stand mixer?
Absolutely, you can make this with a good old-fashioned whisk and some elbow grease! It will take longer to whip the cream by hand, but the result is worth every minute.
How do I prevent ice crystals from forming?
Pressing plastic wrap directly onto the surface before freezing helps immensely. Also, avoid leaving the container open to the freezer air, which dries out and crystallizes the top.
Can I double the No Churn Ice Cream Recipe?
Yes! Just use two loaf pans or a larger freezer-friendly container. Make sure you leave enough space for the mixture to expand slightly as it freezes for the creamiest results.
What are the best mix-ins for custom flavors?
From classic chocolate chips, crushed cookies, peanut butter swirls, to fresh berries or chopped candies, get creative! Swirl in fruit preserves or espresso powder for new takes on your favorite No Churn Ice Cream Recipe flavors.
Final Thoughts
This No Churn Ice Cream Recipe is true kitchen magic, delivering creamy deliciousness with minimum effort and equipment. There’s just something so satisfying about homemade ice cream, especially when it’s this easy and customizable. Grab your mixing bowl, choose your flavors, and treat yourself — happiness is only a few scoops away!
Print
No Churn Ice Cream Recipe
- Total Time: 4 hours 15 minutes
- Yield: 1 loaf pan 1x
- Diet: Vegetarian
Description
Indulge in homemade ice cream with this easy no-churn recipe. Creamy and rich, this vanilla ice cream is a delightful treat for any occasion.
Ingredients
For the Ice Cream Base:
- 1 14-ounce can sweetened condensed milk
- 2 teaspoons vanilla extract
- Pinch sea salt
- 2 cups heavy cream
Instructions
- Prepare the Loaf Pan: Line a 9×5 loaf pan with parchment paper or wax paper and chill in the freezer.
- Mix the Ice Cream Base: In a large chilled bowl, whisk together the sweetened condensed milk, vanilla extract, and salt.
- Whip the Cream: In another chilled bowl, whip the heavy cream until stiff peaks form. Fold half of the whipped cream into the milk mixture.
- Combine the Mixtures: Pour the lightened mixture into the remaining whipped cream and fold to combine.
- Add Flavors: Mix in desired add-ins like chocolate chips, caramel, peanut butter, or freeze-dried fruit.
- Freeze: Pour the mixture into the prepared pan and freeze for at least 4 hours.
- Prep Time: 15 minutes
- Category: Dessert
- Method: Chilling, Freezing
- Cuisine: Global
Nutrition
- Serving Size: 1 scoop
- Calories: 250
- Sugar: 20g
- Sodium: 80mg
- Fat: 15g
- Saturated Fat: 10g
- Unsaturated Fat: 4g
- Trans Fat: 0g
- Carbohydrates: 25g
- Fiber: 0g
- Protein: 3g
- Cholesterol: 50mg
Keywords: No Churn Ice Cream, Homemade Ice Cream, Vanilla Ice Cream, Dessert Recipe
