
Crispy Skin Duck Breast Recipe
Introduction
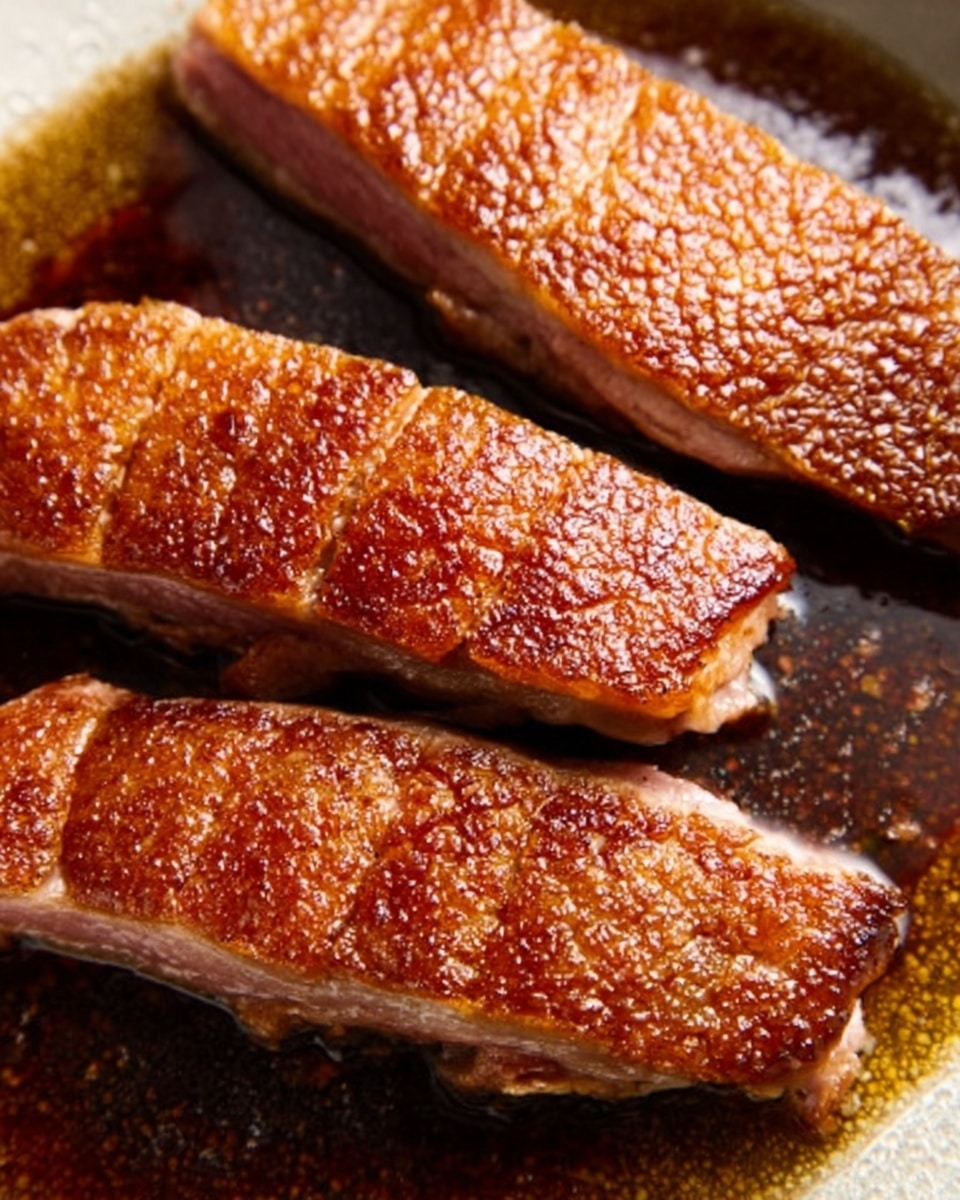
Crispy skin duck breast is a simple yet impressive dish that delivers tender, juicy meat with perfectly crisped skin. With a few careful steps and a bit of patience, you can create restaurant-quality duck right at home.
Ingredients
- 1 duck breast, boneless, skin on
- 1/8 tsp cooking salt or kosher salt
- Pinch of white pepper (or finely ground black pepper)
Instructions
- Step 1: Preheat the oven to 180°C (350°F), or 160°C if using a fan-forced oven.
- Step 2: Sprinkle half the salt and pepper on the flesh side of the duck breast. Turn it over and use a sharp knife to score 5 or 6 diagonal lines into the skin, being careful not to cut through to the flesh or to the edges of the skin. Pat the skin dry with paper towels, then sprinkle the remaining salt and pepper on top.
- Step 3: Place the duck breast skin side down in a cold, oven-proof pan without any oil. Place another pan on top to lightly weigh the duck down, ensuring the skin stays flat against the pan.
- Step 4: Turn the heat to medium-low and cook for about 10 minutes, or until the skin turns golden and crispy and the fat has rendered out.
- Step 5: Flip the duck and cook the flesh side for 1 minute on the stove. Then transfer the pan to the preheated oven for 6 minutes for medium rare (54°C/130°F) or 8 minutes for medium (60°C/140°F).
- Step 6: Remove the duck breast from the oven and let it rest on a rack or plate for 5 minutes before slicing and serving.
Tips & Variations
- Scoring the skin carefully helps fat render out for crispier skin without losing the juices from the meat.
- Using a pan to weigh the duck down keeps the skin flat and prevents it from curling, which can cause rubbery patches.
- Cooking on low heat allows more fat to render out, resulting in a better texture and less greasy dish.
- Adjust oven time based on your preferred level of doneness, similar to cooking a steak.
- If your duck has a thick fat layer, add extra diagonal slashes to render out more fat.
Storage
Store leftover cooked duck breast in an airtight container in the refrigerator for 3 to 4 days. To reheat, gently warm it in a pan skin-side down to help maintain crispiness, or use a low oven. Avoid microwaving to prevent soggy skin.
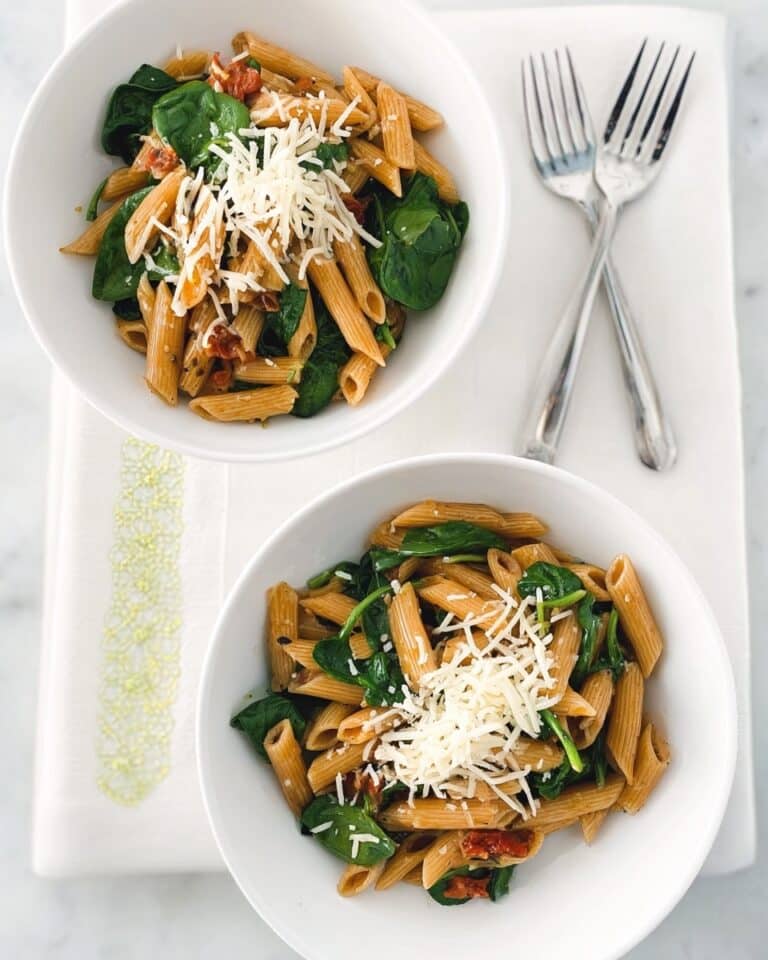
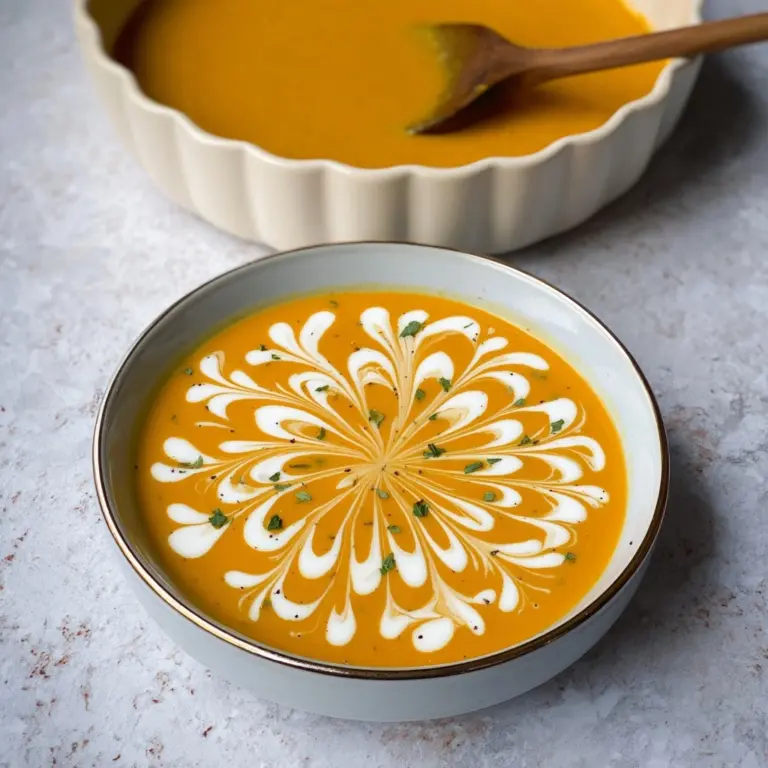
How to Serve
Serve this delicious recipe with your favorite sides.
FAQs
Can I use black pepper instead of white pepper?
Yes, finely ground black pepper works well as a substitute if you don’t have white pepper on hand.
Should I always cook duck breast to medium rare?
Cooking duck breast to medium rare keeps it tender and juicy, but you can cook it to medium if you prefer a bit more doneness. Avoid overcooking to prevent dryness.
Print
Crispy Skin Duck Breast Recipe
- Total Time: 29 minutes
- Yield: 1 serving 1x
Description
This recipe for crispy skin duck breast delivers perfectly rendered, golden, and crunchy skin with tender, juicy meat. The method involves scoring the skin to release fat, slow cooking the breast skin-side down in a cold pan to render out the fat and crisp the skin, then finishing in the oven to your preferred doneness. This technique ensures a balanced duck breast with minimal greasiness and maximum flavor, perfect for an elegant yet easy main dish.
Ingredients
Crispy Skin Duck
- 1 duck breast, boneless, skin on (about 6–8 oz)
- 1/8 teaspoon cooking salt or kosher salt
- Pinch of white pepper (or finely ground black pepper)
Instructions
- Preheat the oven: Set your oven to 180°C (350°F) or 160°C (320°F) if fan-forced, to prepare for finishing the duck breast after pan-searing.
- Score and season: Sprinkle half of the salt and pepper on the flesh side of the duck breast. Using a sharp knife, carefully make 5 or 6 diagonal cuts into the skin only, without piercing the flesh or cutting to the edges. Pat the skin dry thoroughly with paper towels, then season the skin side with the remaining salt and pepper.
- Place in cold pan without oil: Position the duck breast skin-side down in an ovenproof pan that is still cold. Do not preheat the pan or add oil. Place a second pan or weight on top of the breast to keep the skin flat against the surface to avoid curling or wrinkling during cooking.
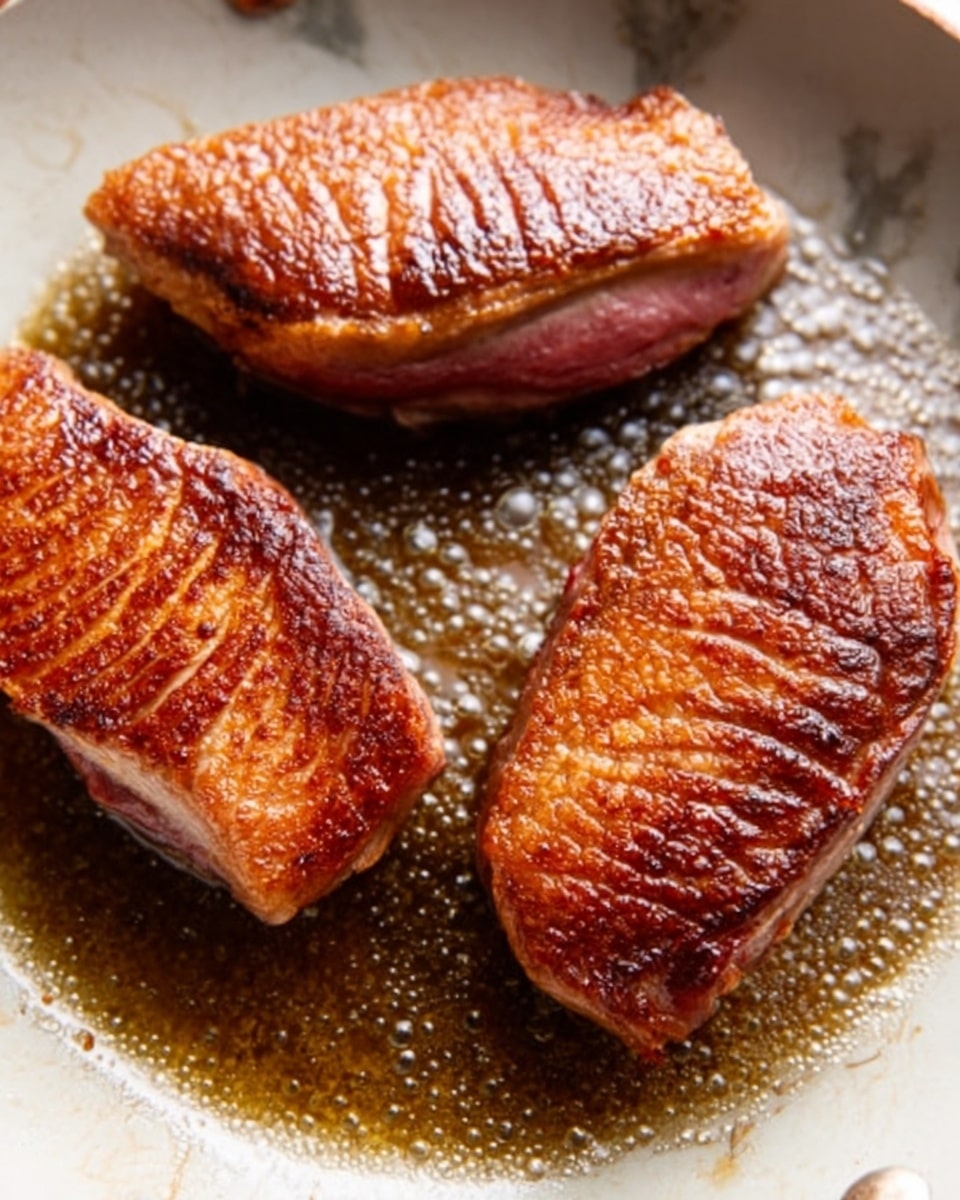
- Cook skin slowly on stovetop: Turn the stove to medium-low heat and cook for 10 minutes. The skin will progressively turn golden and crispy as the fat slowly renders out. This slow process ensures maximum crispiness and less greasy texture.
- Flip and sear flesh side: After the skin is crisp, turn the breast over to cook the flesh side for 1 minute to develop a slight sear.
- Finish in the oven: Transfer the pan to the preheated oven. Cook for 6 minutes for medium rare (internal temperature about 54°C / 130°F) or 8 minutes for medium doneness (around 60°C / 140°F), depending on your preference.
- Rest the duck: Remove the duck from the pan and place it on a rack or plate. Let it rest for 5 minutes to allow the juices to redistribute for moister meat. Serve whole or sliced.
Notes
- Use good quality duck breast with skin on and boneless for best results.
- Scoring the skin helps the fat render out for a crispier skin without cutting into the meat and losing juices.
- Weighing down the breast while cooking maintains flat skin contact and prevents curling, ensuring even crisping.
- Cooking on low heat slowly is key to rendering the fat properly and avoiding rubbery, greasy skin.
- Duck is best served medium rare to medium, similar to steak, for optimal tenderness and juiciness.
- Leftovers can be stored in the refrigerator for up to 3 to 4 days.
- Prep Time: 10 minutes
- Cook Time: 19 minutes
- Category: Main Course
- Method: Stovetop
- Cuisine: French
Keywords: crispy duck breast, duck breast recipe, pan seared duck, how to cook duck breast, crispy skin duck


