
Crispy Chilli Chicken Kimchi Mayo Sandwich Recipe
Introduction
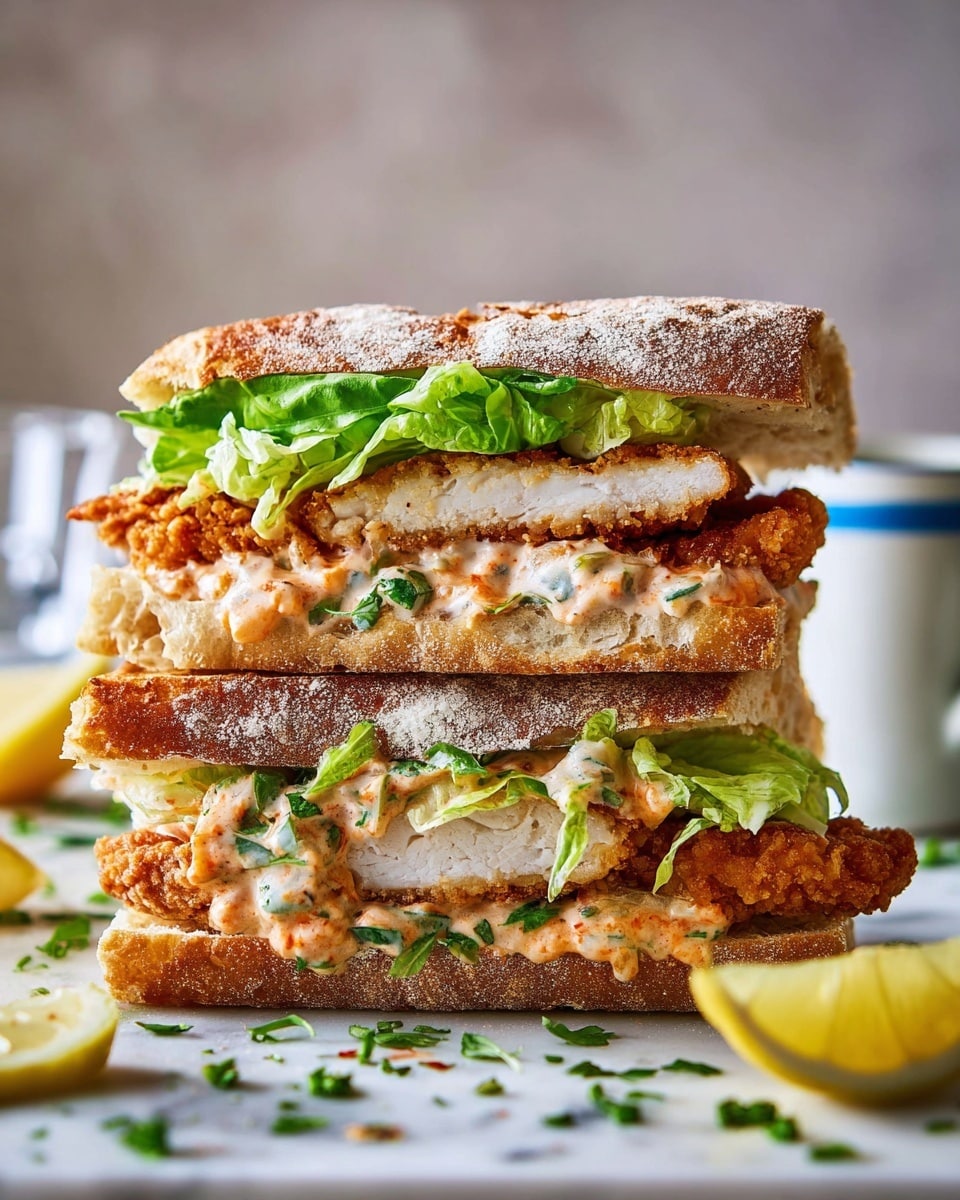
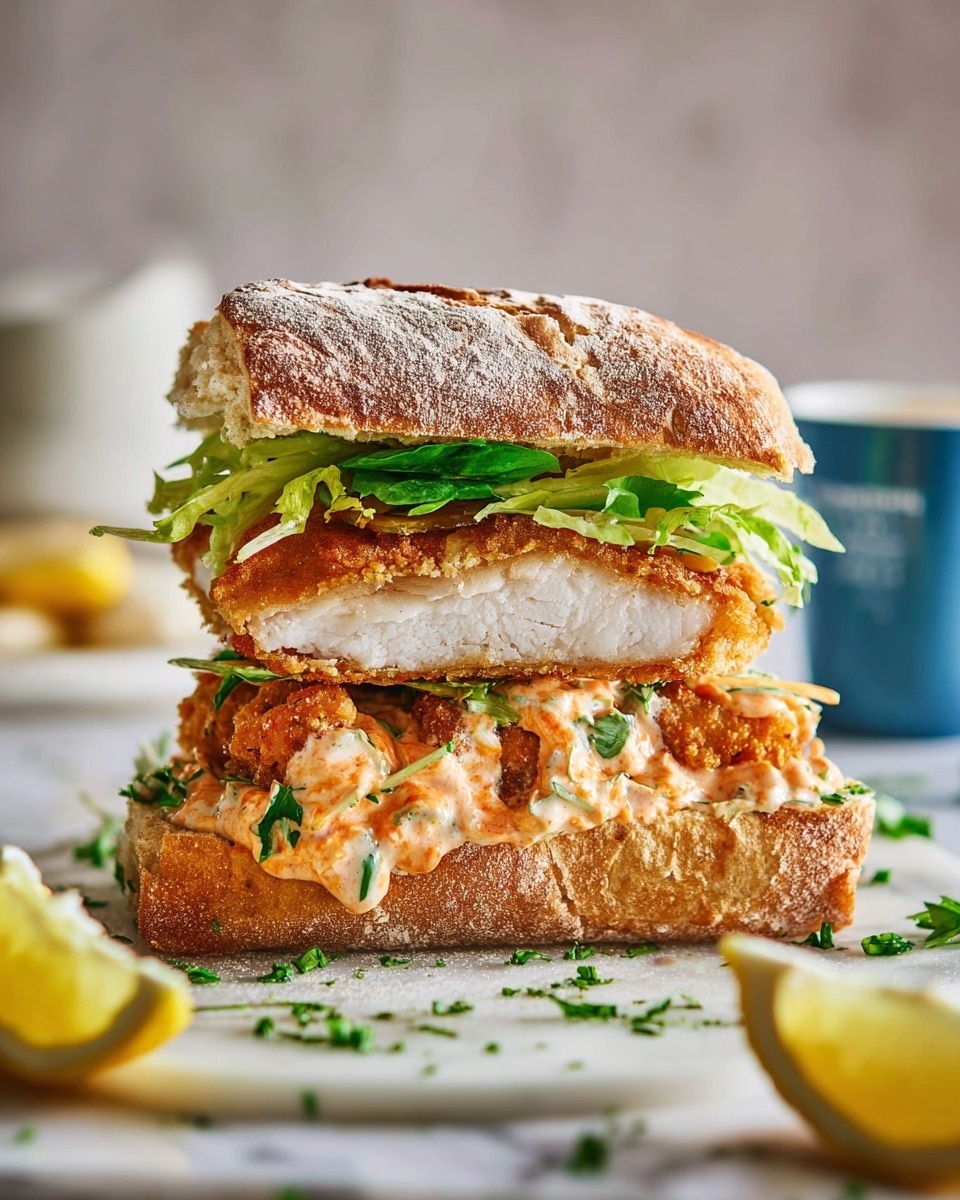
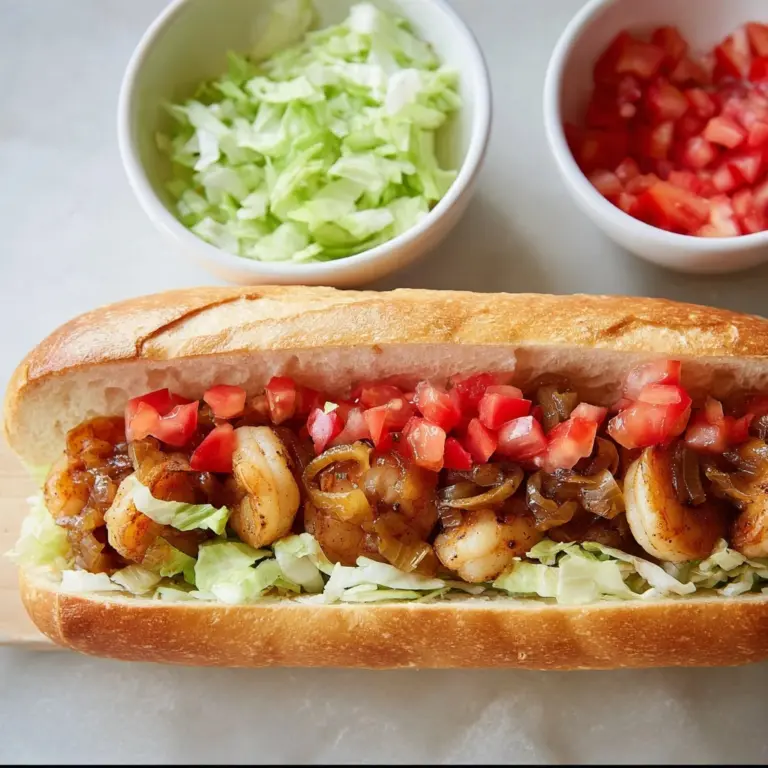
This Crispy Chilli Chicken Kimchi Mayo Sandwich is a flavorful fusion of spicy, tangy, and crunchy elements. Perfect for a satisfying lunch or casual dinner, it combines crispy fried chicken with zesty kimchi mayo and fresh greens inside a toasted ciabatta loaf.
Ingredients
- 2 chicken breasts
- 50g plain flour
- 75g panko breadcrumbs
- 2 eggs
- 3 tbsp chilli oil
- 500ml vegetable oil (for frying)
- 4 tbsp kewpie mayonnaise (or regular mayonnaise)
- 3 tbsp kimchi, roughly chopped, plus extra to serve
- 1 large ciabatta loaf, halved and toasted
- 1 Sweet Gem lettuce, thinly sliced
- Small handful of chives, finely chopped
- ½ lemon, cut into wedges
Instructions
- Step 1: Butterfly the chicken breasts by slicing into one side and opening them like a book. Place between baking parchment and gently bash with a rolling pin until about 1-2cm thick.
- Step 2: Set up a breading station: season the flour with salt and pepper on one plate, place panko breadcrumbs on a second plate, and whisk eggs with 1 tablespoon of chilli oil in a shallow bowl.
- Step 3: Dip each chicken breast first into the flour, coating completely, then into the egg mixture, and finally into the breadcrumbs, pressing to adhere well. Place on a wire rack and repeat with the second breast.
- Step 4: Heat vegetable oil in a frying pan over medium-high heat. When hot (around 180°C or bubbling when tested with bread), carefully fry the chicken breasts for 3 minutes on each side until golden and cooked through.
- Step 5: Transfer cooked chicken to kitchen paper to drain and brush with remaining chilli oil. Season lightly with salt and pepper.
- Step 6: Mix mayonnaise with chopped kimchi to make the kimchi mayo. Season to taste.
- Step 7: Spread the kimchi mayo over one side of each toasted ciabatta half. Layer with the crispy chicken, extra kimchi if desired, sliced lettuce, and chopped chives.
- Step 8: Squeeze lemon wedges over the top, close the sandwich, and cut in half to serve.
Tips & Variations
- For extra crunch, use fresh panko breadcrumbs and avoid overcrowding the pan when frying the chicken.
- Swap Sweet Gem lettuce for crunchy iceberg or romaine if preferred.
- If you like less heat, reduce the amount of chilli oil or replace it with a mild oil.
- Make the sandwich ahead and pack ingredients separately for best texture; assemble just before eating.
Storage
Store any leftover chicken in an airtight container in the refrigerator for up to 2 days. Reheat gently in a skillet or oven to retain crispiness. Assemble the sandwich fresh to prevent the bread from becoming soggy.
How to Serve
Serve this delicious recipe with your favorite sides.
FAQs
Can I use chicken thighs instead of breasts?
Yes, boneless, skinless chicken thighs work well and can be more tender and flavorful. Adjust cooking time as needed to ensure they’re cooked through.
What can I substitute for kewpie mayonnaise?
If kewpie mayo isn’t available, regular mayonnaise is a fine substitute. You can add a small dash of soy sauce or rice vinegar to mimic kewpie’s slight tang.
Print
Crispy Chilli Chicken Kimchi Mayo Sandwich Recipe
- Total Time: 25 minutes
- Yield: 2 sandwiches 1x
Description
A deliciously crispy and spicy chicken sandwich featuring tender chicken breasts breaded and fried to golden perfection, paired with tangy kimchi-infused mayonnaise, fresh lettuce, and chives, all served inside a toasted ciabatta loaf. This sandwich balances heat, crunch, and creaminess for an irresistible meal.
Ingredients
Chicken and Coating
- 2 chicken breasts
- 50g plain flour
- 75g panko breadcrumbs
- 2 eggs
- 3 tbsp chilli oil (divided)
- 500ml vegetable oil (for frying)
- Salt and pepper to season
Kimchi Mayo
- 4 tbsp kewpie mayonnaise or regular mayonnaise
- 3 tbsp kimchi, roughly chopped (plus extra to serve)
Sandwich Assembly
- 1 large ciabatta loaf, halved and toasted
- 1 Sweet Gem lettuce, thinly sliced
- Small handful of chives, finely chopped
- ½ lemon, cut into wedges
Instructions
- Prepare the Chicken: Butterfly each chicken breast by slicing one side and opening it like a book. Place between baking parchment and gently bash with a rolling pin until they are 1-2cm thick to ensure even cooking.
- Set Up Breading Station: On one plate, spread plain flour seasoned with salt and pepper. On another plate, place panko breadcrumbs. In a shallow bowl, whisk together the eggs and 1 tablespoon of chilli oil.
- Bread the Chicken: Coat each chicken breast first in the flour, then dip in the egg mixture, and finally coat thoroughly with panko breadcrumbs. Place the breaded chicken on a wire rack and repeat with the second breast.
- Fry the Chicken: Heat vegetable oil in a frying pan over medium-high heat until it reaches 180°C or until a small piece of bread bubbles upon contact. Carefully fry the chicken breasts for 3 minutes on each side until golden brown and cooked through. Drain on kitchen paper, brush with the remaining chilli oil, and season lightly.
- Make Kimchi Mayo: In a bowl, mix the kewpie mayonnaise with roughly chopped kimchi. Adjust seasoning if needed for taste.
- Assemble the Sandwich: Spread the kimchi mayo over one side of the toasted ciabatta. Add the crispy chicken breasts, top with extra kimchi if desired, then layer on thinly sliced Sweet Gem lettuce and chopped chives.
- Serve: Squeeze fresh lemon juice over the filling for brightness. Cut the sandwich in half and serve immediately with remaining kimchi on the side.
Notes
- Butterflying and pounding the chicken ensures even cooking and tenderness.
- Use a thermometer or test oil readiness with bread to prevent greasy or undercooked chicken.
- For less heat, reduce or omit chilli oil.
- Kewpie mayonnaise adds a creamy umami flavor, but regular mayo works fine as a substitute.
- Adding fresh lemon juice enhances the sandwich’s brightness and balances the spicy flavors.
- The sandwich is best enjoyed immediately to keep the chicken crispy.
- Prep Time: 15 minutes
- Cook Time: 10 minutes
- Category: Sandwich
- Method: Frying
- Cuisine: Fusion (Korean-inspired)
Keywords: crispy chicken sandwich, kimchi mayo, spicy chicken sandwich, Korean fusion sandwich, panko fried chicken, ciabatta sandwich, chili oil chicken


