
Cheesy Garlic Chicken Wraps Recipe
Introduction
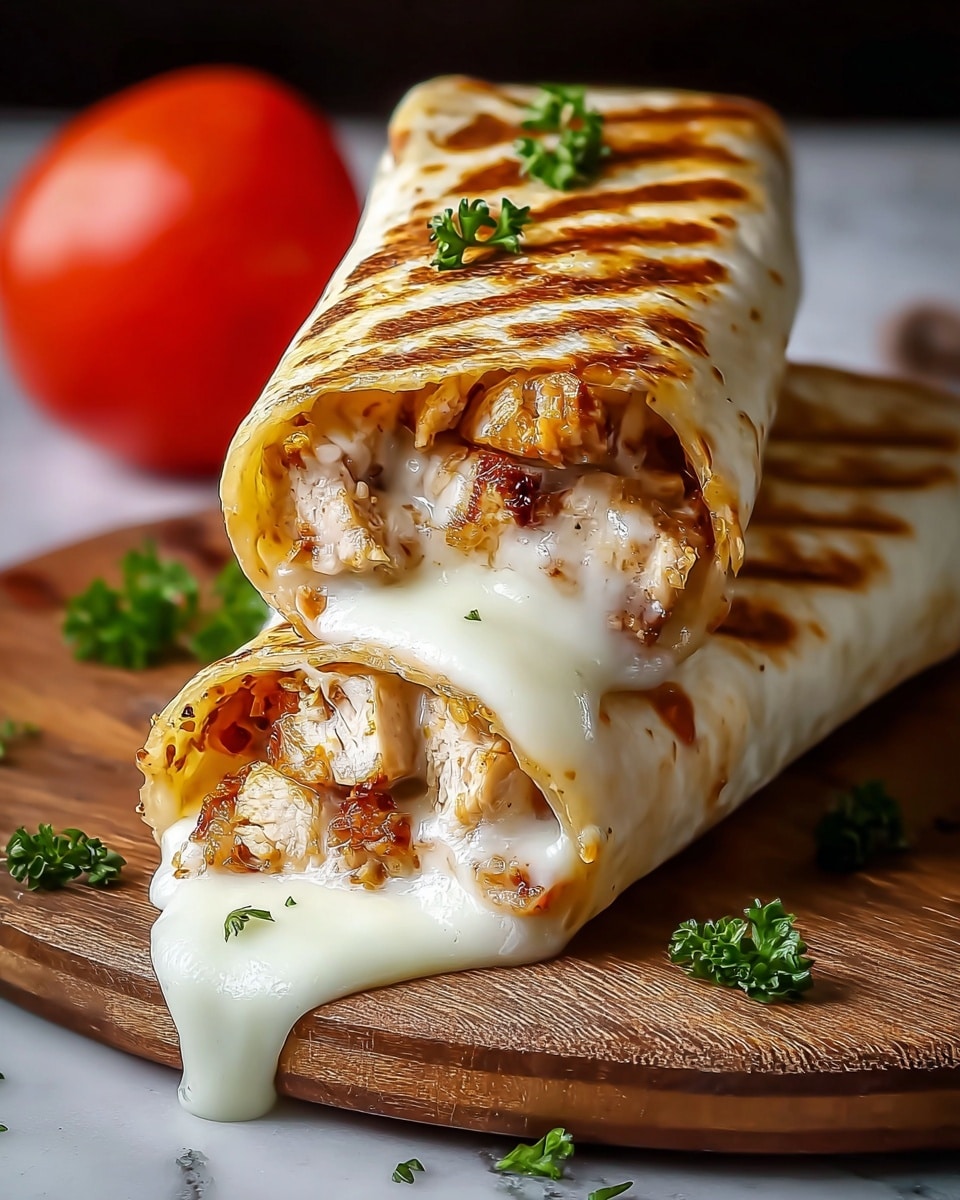
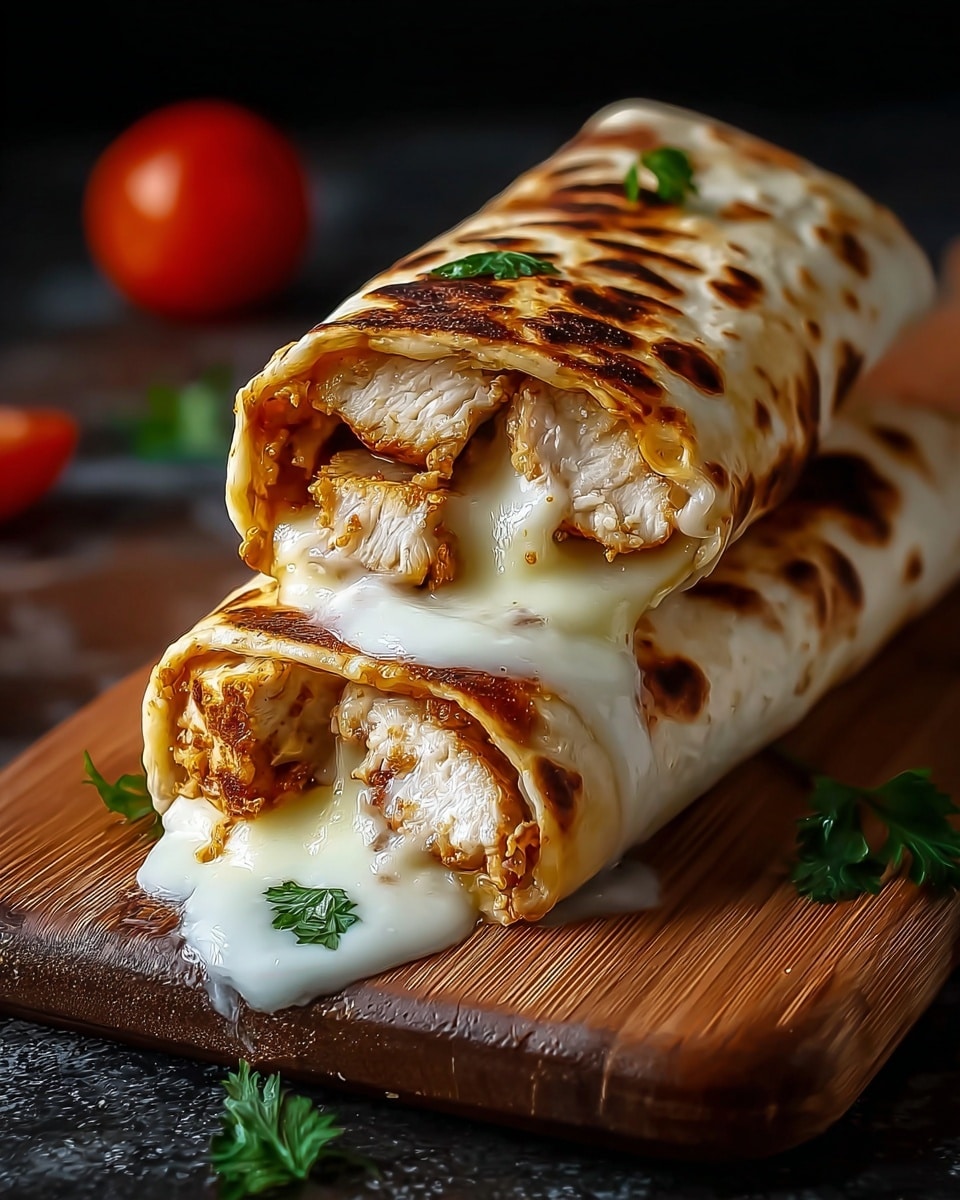
These cheesy garlic chicken wraps are a quick and delicious meal packed with flavor and creamy textures. Perfect for lunch or a light dinner, they combine tender chicken with melted cheese and fresh veggies wrapped in a soft tortilla.
Ingredients
- 2 cups cooked chicken, shredded
- 1 cup shredded mozzarella cheese
- 1/2 cup cream cheese, softened
- 1/4 cup mayonnaise
- 2 cloves garlic, minced
- 1 teaspoon Italian seasoning
- 1/2 teaspoon salt
- 1/4 teaspoon black pepper
- 4 large flour tortillas
- 1 cup fresh spinach leaves
- 1/2 cup diced tomatoes
- 1/4 cup sliced green onions
Instructions
- Step 1: In a medium bowl, combine the shredded cooked chicken, shredded mozzarella cheese, softened cream cheese, mayonnaise, minced garlic, Italian seasoning, salt, and black pepper. Mix thoroughly until all ingredients are well combined and the mixture is uniform.
- Step 2: Briefly warm the large flour tortillas to make them pliable. This can be done in a dry skillet over medium heat for 15-20 seconds per side, in a microwave wrapped in a damp paper towel for 30-60 seconds, or in a warm oven (250°F / 120°C) for 5-10 minutes.
- Step 3: Lay a warm tortilla flat on a clean surface. Spoon a generous amount of the chicken mixture onto the center of the tortilla, spreading it to within an inch of the edges. Top the chicken mixture with fresh spinach leaves, diced tomatoes, and sliced green onions.
- Step 4: To roll, first fold in the sides of the tortilla over the filling. Then, starting from the bottom, tightly roll the tortilla upwards to create a snug wrap. Repeat this process for the remaining tortillas and filling.
- Step 5: Serve the wraps immediately. For an extra layer of texture and warmth, you can sear the assembled wraps: heat a dry non-stick skillet over medium heat, place the wraps seam-side down, and cook for 2-3 minutes per side until golden brown and slightly crispy.
Tips & Variations
- Use rotisserie chicken for a time-saving shortcut without sacrificing flavor.
- Try adding a splash of hot sauce or a pinch of red pepper flakes to the filling for a spicy kick.
- Substitute spinach with arugula or kale for a different leafy green texture.
- For a gluten-free version, use corn tortillas or gluten-free wraps.
Storage
Store any leftover wraps tightly wrapped in plastic wrap or in an airtight container in the refrigerator for up to 2 days. If you seared the wraps, reheat them in a skillet over medium heat for a few minutes to maintain crispness. Avoid microwaving wrapped tortillas as they may become soggy.
How to Serve
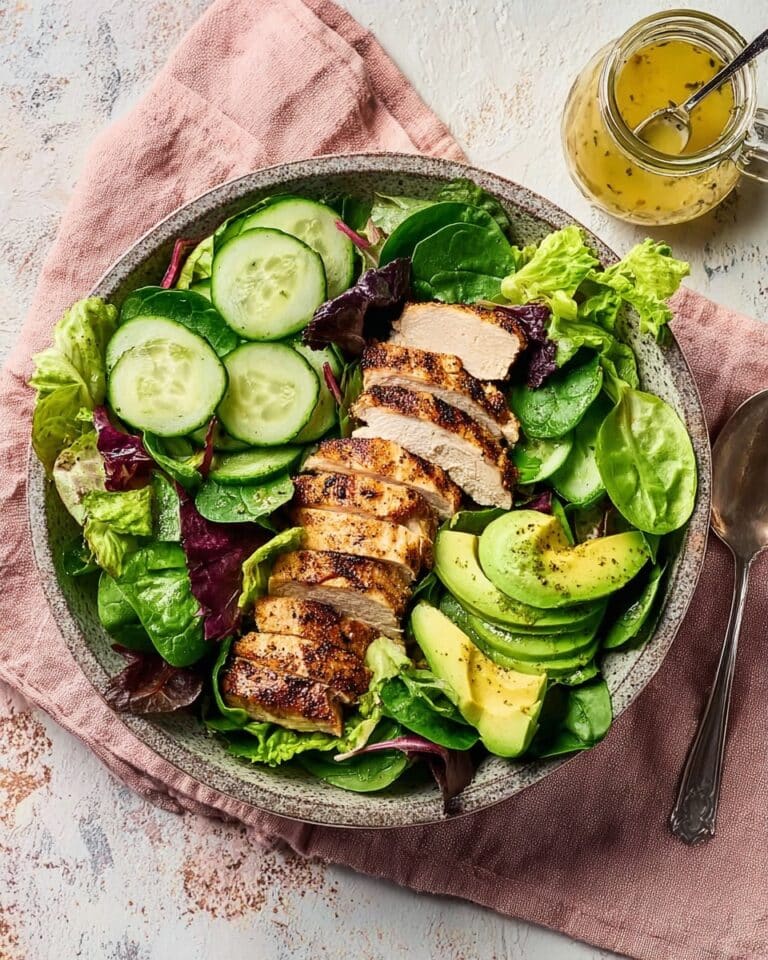
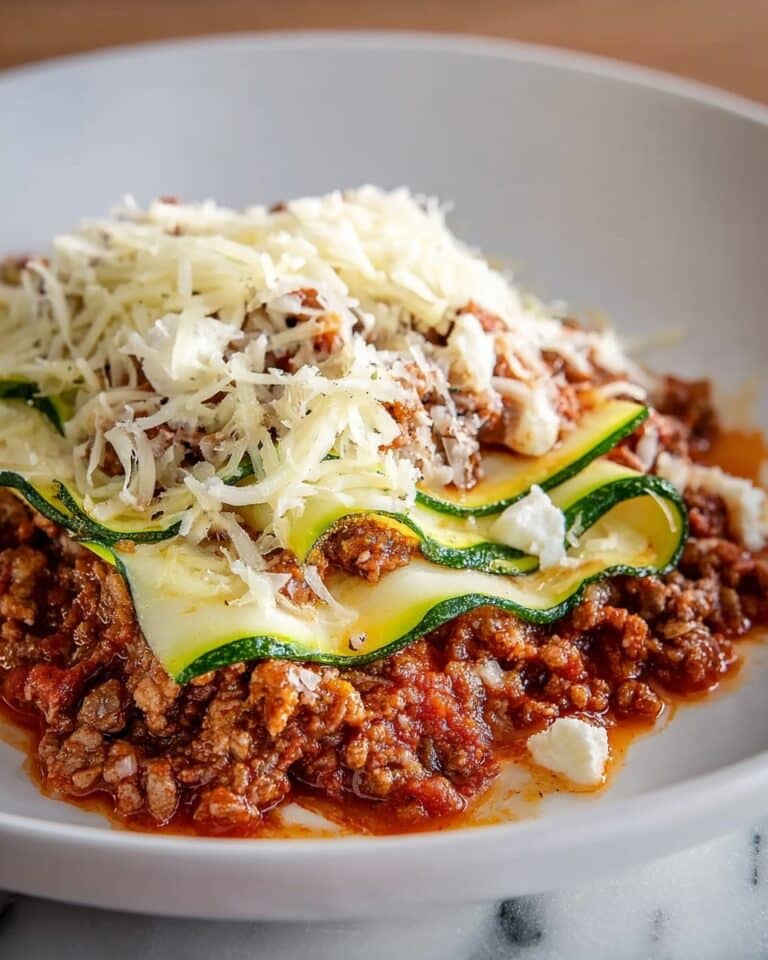
Serve this delicious recipe with your favorite sides.
FAQs
Can I make these wraps ahead of time?
Yes, you can assemble the wraps and store them in the fridge for a few hours before serving. For best texture, sear them just before eating.
What can I use instead of mayonnaise?
You can substitute mayonnaise with Greek yogurt or sour cream for a lighter option without losing creaminess.
Print
Cheesy Garlic Chicken Wraps Recipe
- Total Time: 20 minutes
- Yield: 4 wraps 1x
Description
These Cheesy Garlic Chicken Wraps combine tender shredded chicken with a creamy, cheesy garlic filling, fresh spinach, tomatoes, and green onions, all wrapped in warm, soft flour tortillas. They can be served fresh or lightly seared for a deliciously crispy exterior, making them perfect for a quick lunch or satisfying dinner.
Ingredients
Chicken Filling
- 2 cups cooked chicken, shredded
- 1 cup shredded mozzarella cheese
- 1/2 cup cream cheese, softened
- 1/4 cup mayonnaise
- 2 cloves garlic, minced
- 1 teaspoon Italian seasoning
- 1/2 teaspoon salt
- 1/4 teaspoon black pepper
Wrap Assembly
- 4 large flour tortillas
- 1 cup fresh spinach leaves
- 1/2 cup diced tomatoes
- 1/4 cup sliced green onions
Instructions
- Prepare Filling: In a medium bowl, thoroughly mix the shredded cooked chicken, shredded mozzarella cheese, softened cream cheese, mayonnaise, minced garlic, Italian seasoning, salt, and black pepper until the mixture is uniform and creamy.
- Warm Tortillas: Soften the flour tortillas to make them pliable by warming them briefly. You can heat them in a dry skillet over medium heat for 15-20 seconds per side, microwave wrapped in a damp paper towel for 30-60 seconds, or place them in a warm oven at 250°F (120°C) for 5-10 minutes.
- Assemble Wraps: Lay a warmed tortilla flat on a clean surface. Spread a generous amount of the chicken filling onto the center of the tortilla, leaving about an inch of space around the edges. Top with fresh spinach leaves, diced tomatoes, and sliced green onions.
- Roll Wraps: Fold the sides of the tortilla over the filling, then, starting from the bottom edge, roll the tortilla tightly upwards to form a snug wrap. Repeat for all tortillas and filling.
- Serve or Sear: Serve the wraps immediately as is, or heat a dry non-stick skillet over medium heat and sear the wraps seam-side down for 2-3 minutes per side until they develop a golden brown, crispy exterior for added texture and warmth.
Notes
- Use cooked chicken from leftovers or rotisserie chicken for convenience.
- For a spicier kick, add some crushed red pepper flakes to the filling.
- Substitute flour tortillas with whole wheat or gluten-free tortillas to suit dietary preferences.
- Wraps can be prepped in advance and refrigerated; sear just before serving to maintain crispiness.
- To avoid soggy wraps, pat diced tomatoes dry before adding.
- Prep Time: 10 minutes
- Cook Time: 10 minutes
- Category: Lunch
- Method: Stovetop
- Cuisine: American
Keywords: chicken wraps, cheesy chicken wraps, garlic chicken wraps, easy lunch recipe, quick dinner, stovetop wraps


