
Best Classic Canadian Butter Tarts Recipe
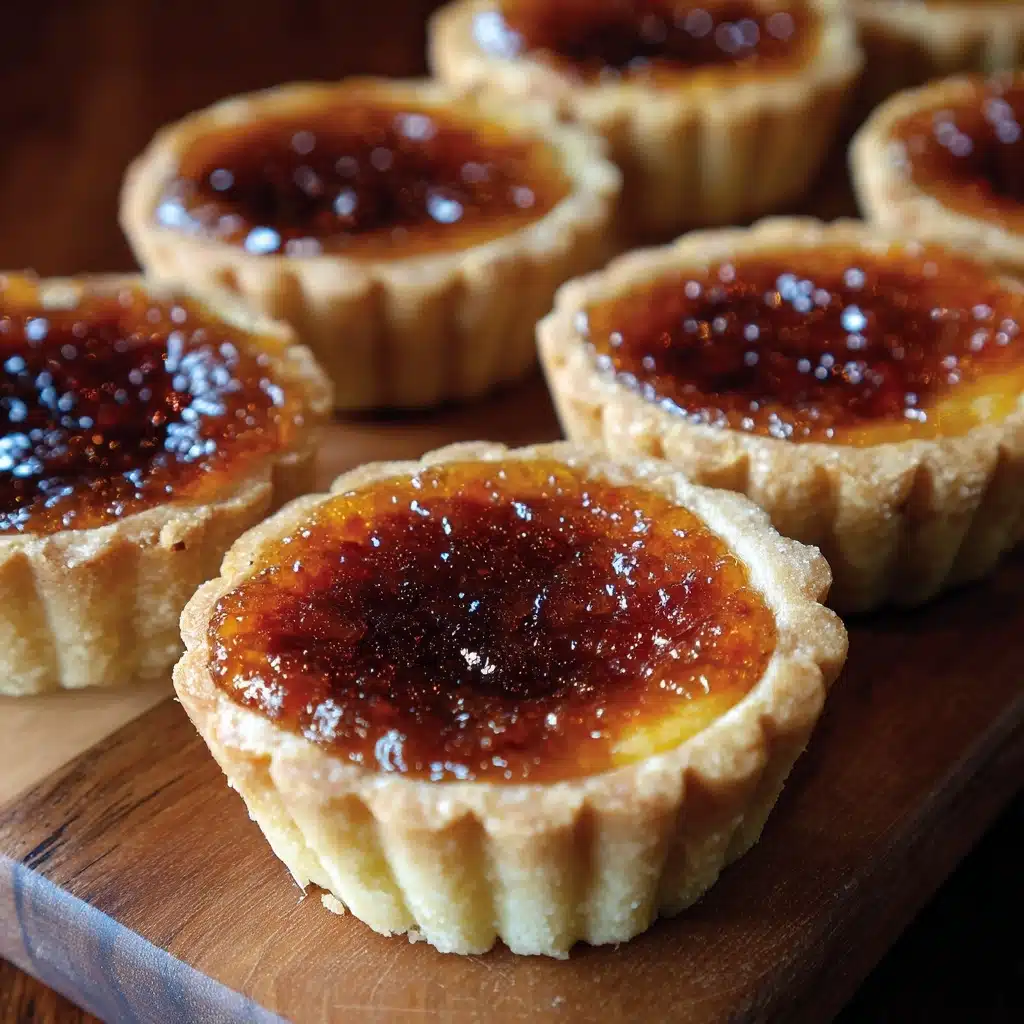
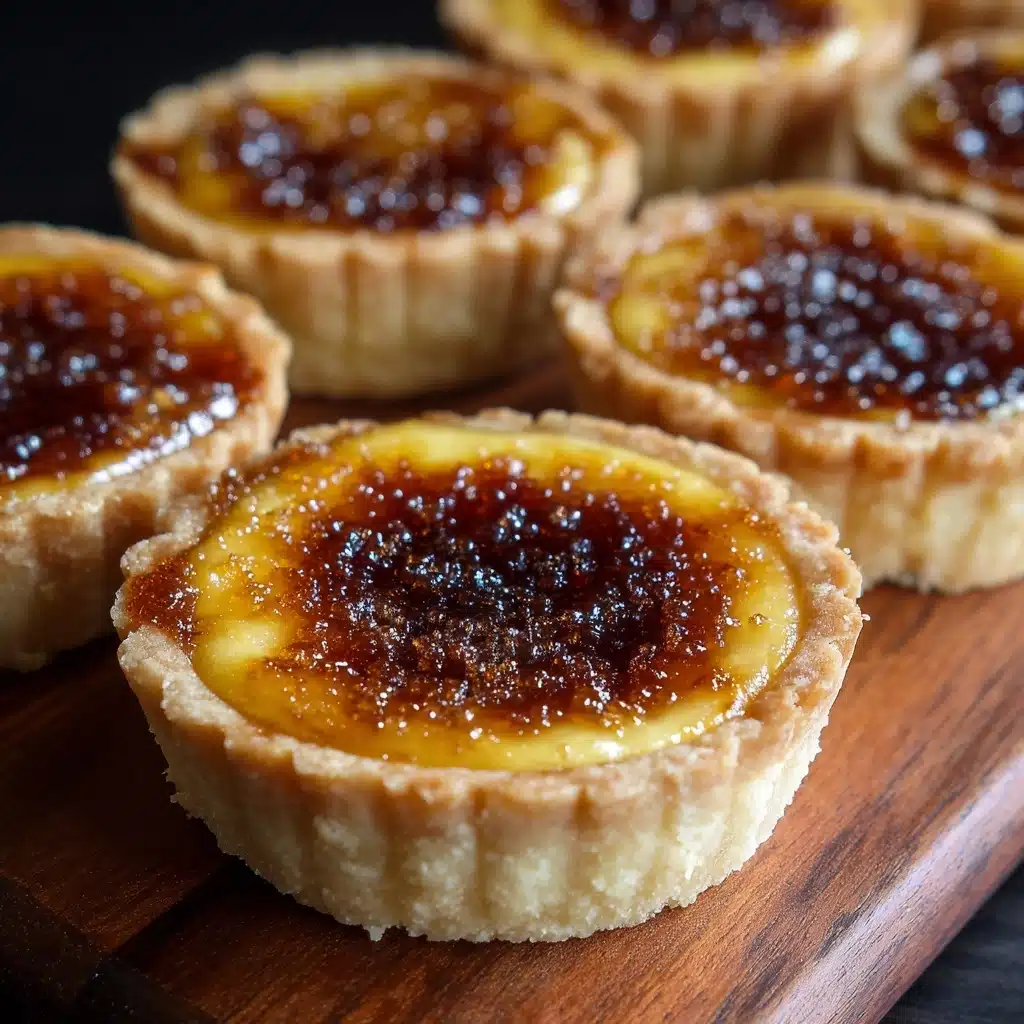
If you’re searching for that perfect nostalgic sweet treat, nothing quite hits the spot like the Best Classic Canadian Butter Tarts. They’re rich, buttery, and just the right amount of gooey with a delightful crunch from the crisp pastry shell. These little tartlets bring together a luscious filling of brown sugar, butter, and golden syrup, sometimes studded with raisins or nuts, capturing a classic Canadian comfort dessert that’s irresistibly addictive. Whether it’s for a cozy afternoon tea or a festive gathering, these butter tarts are guaranteed to bring smiles and warm memories with every bite.
Ingredients You’ll Need
Creating the Best Classic Canadian Butter Tarts is all about trusting simple, quality ingredients that work in harmony to produce that iconic taste. Each element plays a role in delivering the perfect balance of flaky crust and rich, gooey filling that butter tart lovers crave.
- All-purpose flour: The foundation of the pastry, providing structure and a tender crumb.
- Cold unsalted butter: Used both cubed for the crust and melted for the filling; it adds richness and flakiness.
- Salt: Just a pinch enhances the flavors and balances the sweetness.
- Cold water: Helps bring the dough together while keeping it tender.
- Brown sugar: Packed for extra sweetness and a deep molasses flavor that’s signature to butter tarts.
- Corn syrup: Adds a glossy shine and gives the filling that perfect chewy texture.
- Eggs: Bind the filling ingredients and add a velvety richness.
- Vanilla extract: Infuses a warm, aromatic note that elevates the entire tart.
- Raisins or chopped nuts (optional): Classic additions that contribute texture and bursts of flavor.
How to Make Best Classic Canadian Butter Tarts
Step 1: Prepare the Pastry Dough
Start by mixing the flour and salt in a bowl. Then, add the cold cubed butter. Using a pastry cutter or your fingers, work the butter into the flour until the mixture looks like coarse crumbs. This step is crucial to achieving a flaky crust. Gradually add the cold water one tablespoon at a time, stirring gently until the dough just comes together. Form it into a ball, wrap it tightly in plastic wrap, and pop it in the fridge to chill for 30 minutes. Cooling the dough helps relax the gluten, making it easier to roll out and ensuring a tender crust.
Step 2: Make the Sweet Filling
While your dough chills, whisk together the melted butter, brown sugar, corn syrup, eggs, vanilla extract, and salt in a separate bowl. Mixing until smooth ensures your filling will bake evenly with that signature gooey texture and deep caramel flavor. If you love the traditional taste, raisins or nuts make a tasty optional addition to fold into the filling or sprinkle into the shells before filling.
Step 3: Shape and Fill Your Tarts
On a lightly floured surface, roll out the chilled dough to about ¼-inch thickness. Use a round cutter or a glass to cut circles large enough to comfortably fit into your muffin tin cups, pressing them gently down to form little tart shells. If you’re including raisins or nuts, scatter a few at the bottom of each shell now. Then, carefully pour the luscious filling into each shell, filling them just below the edge so it doesn’t spill over during baking.
Step 4: Bake to Perfection
Place the filled tins into your preheated oven at 400°F (200°C) and bake for 20 to 25 minutes. You’ll know they’re done when the filling bubbles and the crust edges turn a gorgeous golden brown. Keep a close eye near the end to prevent overbaking—the filling should jiggle slightly but not be liquid. Once baked, allow the tarts to cool in the pan for five minutes before transferring them to a wire rack to cool completely; this helps them set and makes them easier to remove.
How to Serve Best Classic Canadian Butter Tarts
Garnishes
A simple dusting of powdered sugar makes these tarts look pretty and adds a touch of sweetness without overpowering their rich filling. For a flair of freshness, serve with a sprig of mint or a dollop of whipped cream on the side. When serving to guests, a small drizzle of warm caramel sauce can take these classic tarts to a whole new level of indulgence.
Side Dishes
The richness of butter tarts means they pair beautifully with lighter accompaniments. Enjoy them alongside a crisp green salad with tart vinaigrette or a small scoop of vanilla or cinnamon ice cream to contrast the warm, gooey center. A cup of strong coffee or a fragrant black tea rounds out the experience perfectly, cutting through the sweetness and complementing the buttery notes.
Creative Ways to Present
To impress at parties or holiday gatherings, serve the Best Classic Canadian Butter Tarts on a rustic wooden board or a pretty cake stand. Try mini tartlets for bite-sized treats that guests can grab easily. You can even garnish each tart with edible gold leaf or finely chopped toasted pecans for an elegant twist. Presentation makes these homemade classics feel extra special and irresistible!
Make Ahead and Storage
Storing Leftovers
If you happen to have any leftover Best Classic Canadian Butter Tarts (which is a rare event!), store them in an airtight container at room temperature for up to two days. This keeps the pastry crisp and the filling soft and luscious. Beyond that, refrigeration can dry out the crust and toughen the filling.
Freezing
Butter tarts freeze wonderfully—just wrap each tart individually in plastic wrap before placing them in a freezer-safe container. Freeze for up to two months. When you’re ready to enjoy, thaw them overnight in the refrigerator. This makes them an excellent make-ahead dessert for holidays and special occasions.
Reheating
To bring the tarts back to their fresh-baked glory, warm them gently in a 325°F (165°C) oven for 5 to 7 minutes. This helps refresh the crispness of the crust while warming the filling to a soft, gooey consistency again. Avoid microwaving, as this can make the pastry soggy and the filling overly hot and rubbery.
FAQs
Can I use a store-bought pie crust instead of making my own?
Absolutely! While making your own pastry gives the best texture and flavor, a good-quality store-bought crust can save time and still deliver delicious tarts. Just be sure to roll it out thinner if needed and keep it chilled before baking.
What’s the difference between butter tarts and pecan pies?
Butter tarts have a gooey, caramel-like filling that’s generally less firm and sweet than pecan pies. They often include raisins or nuts, but always have a buttery syrup base, while pecan pies highlight whole pecan halves in a thicker filling.
Are raisins necessary in the filling?
Not at all! Raisins are traditional but optional. Many people prefer their butter tarts without them, or you can substitute with chopped nuts or dried cranberries. It all depends on your personal taste.
Can I make these tarts gluten-free?
Yes, by swapping the all-purpose flour for a gluten-free flour blend designed for baking, you can enjoy these tarts without gluten. Just be sure the blend contains xanthan gum or another binder to keep the dough together.
How do I prevent the filling from leaking during baking?
Press the dough firmly into the muffin cups with no air gaps and avoid overfilling the tart shells. Also, chilling the dough before baking helps it hold its shape and prevents spills. Using a muffin tin with deeper cups will also keep the filling contained.
Final Thoughts
There’s something truly special about the Best Classic Canadian Butter Tarts that makes them a treasured part of Canadian food heritage and an absolute joy to bake and share. Their rich, buttery filling paired with a flaky crust is a treat that brings warmth to any occasion. I hope this recipe inspires you to create your own batch soon and discover just how delicious these little bites of sweetness can be. Trust me—once you try them, they’re bound to become one of your favorite go-to desserts too!
Print
Best Classic Canadian Butter Tarts Recipe
- Total Time: 1 hour 5 minutes
- Yield: 12 butter tarts 1x
- Diet: Vegetarian
Description
Classic Canadian Butter Tarts featuring a flaky pastry crust filled with a rich, gooey mixture of butter, brown sugar, and corn syrup, optionally studded with raisins or nuts. This recipe results in a perfect balance of sweet and buttery flavors with a slightly crisp edge and a luscious, caramelized filling.
Ingredients
Pastry Dough
- 1.5 cups all-purpose flour
- 0.25 teaspoon salt
- 0.5 cup unsalted butter, cold and cubed
- 3 tablespoons cold water
Filling
- 0.5 cup unsalted butter, melted
- 1 cup brown sugar, packed
- 0.5 cup corn syrup
- 2 large eggs
- 1 teaspoon vanilla extract
- 0.5 teaspoon salt
- 0.5 cup raisins or chopped nuts (optional)
Instructions
- Preheat Oven: Preheat your oven to 400°F (200°C) to ensure it reaches the optimal baking temperature before assembling the tarts.
- Make Pastry Dough: In a mixing bowl, combine the flour and salt. Add the cold cubed butter and use a pastry cutter or your fingers to blend until the mixture resembles coarse crumbs, ensuring a flaky crust.
- Add Water: Gradually add cold water, one tablespoon at a time, mixing gently until a dough forms that holds together without being sticky.
- Chill Dough: Gather the dough into a ball, wrap in plastic wrap, and refrigerate for about 30 minutes to make it easier to roll out and help maintain flakiness.
- Prepare Filling: In a separate bowl, whisk together melted butter, brown sugar, corn syrup, eggs, vanilla extract, and salt until smooth and fully integrated for a rich filling.
- Roll Dough: On a floured surface, roll out the chilled dough to about ¼ inch thickness and cut out circles that fit your muffin tin cups perfectly.
- Form Shells: Press each dough circle into the muffin tin cups, shaping them gently to form individual tart shells.
- Add Optional Ingredients: If desired, sprinkle a few raisins or chopped nuts into the bottom of each pastry shell for added texture and flavor.
- Fill Shells: Carefully pour the prepared filling into each shell, filling to just below the edge to prevent overflow during baking.
- Bake: Place the muffin tin in the preheated oven and bake for 20-25 minutes until the filling is bubbly and the crust edges turn golden brown.
- Cool: Remove the tarts from the oven and let them cool in the pan for 5 minutes before transferring them to a wire rack to cool completely, allowing the filling to set.
Notes
- Use cold butter for the pastry to ensure a tender and flaky crust.
- Chilling the dough before rolling helps prevent shrinking during baking.
- Adjust baking time slightly if using larger or smaller muffin tins.
- For a nut-free version, omit nuts entirely or substitute with raisins only.
- Store butter tarts in an airtight container at room temperature for up to 3 days or refrigerate for up to a week.
- Prep Time: 40 minutes
- Cook Time: 25 minutes
- Category: Dessert
- Method: Baking
- Cuisine: Canadian
Nutrition
- Serving Size: 1 tart (approx. 80g)
- Calories: 290 kcal
- Sugar: 24 g
- Sodium: 160 mg
- Fat: 16 g
- Saturated Fat: 10 g
- Unsaturated Fat: 5 g
- Trans Fat: 0 g
- Carbohydrates: 35 g
- Fiber: 1 g
- Protein: 3 g
- Cholesterol: 75 mg
Keywords: butter tarts, Canadian dessert, classic butter tarts, flaky pastry, sweet tarts