
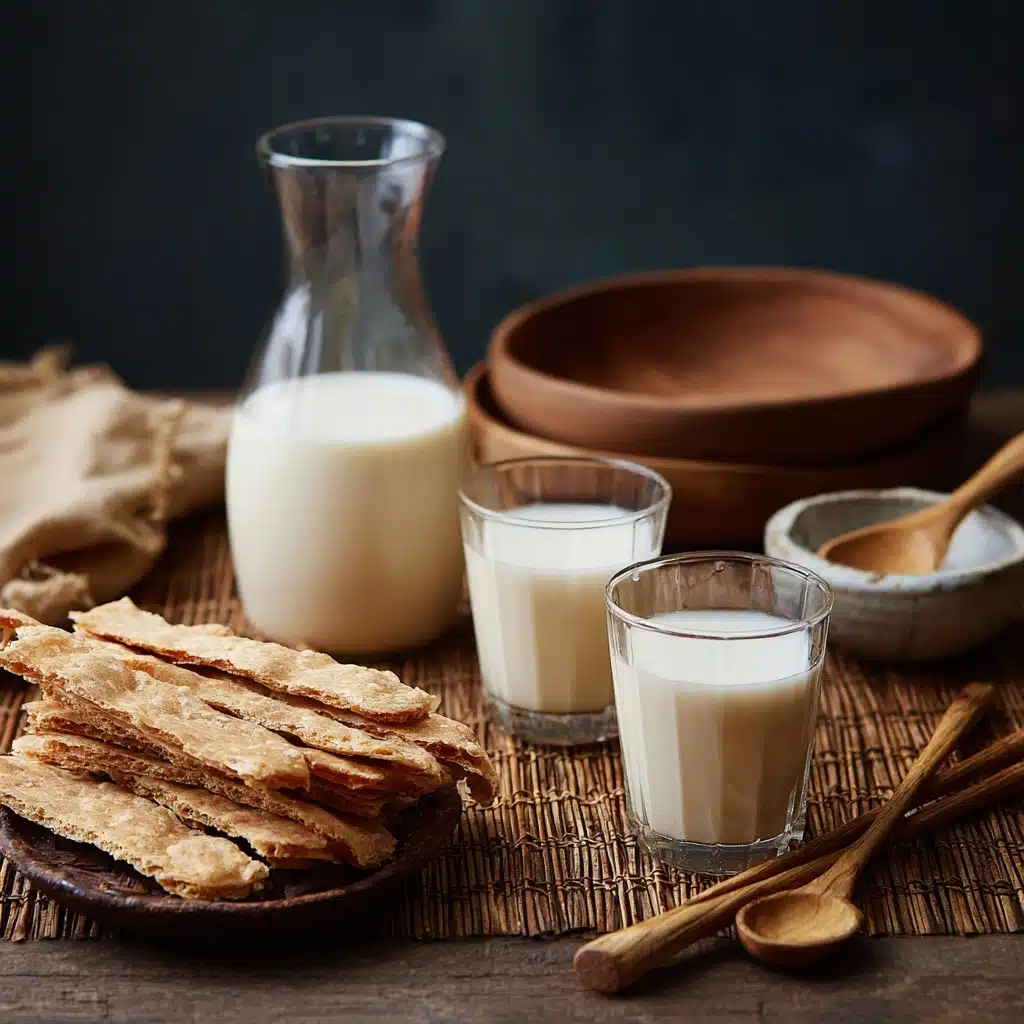
Homemade Soy Milk (with Soy Milk Maker, 豆浆) Recipe
If you’ve ever longed for the smoothest, creamiest soy milk at home, you’re in for a treat with this Homemade Soy Milk (with Soy Milk Maker, 豆浆). There’s something truly special about crafting this classic drink from scratch—the aroma of freshly ground soy beans fills your kitchen, and each sip tastes pure, nutty, and far fresher than anything you’ll find in stores. Plus, a soy milk maker does all the hard work for you, leaving you free to savor the results and maybe even get creative with what you do with the leftover okara (soy pulp). Once you try Homemade Soy Milk (with Soy Milk Maker, 豆浆), you may never look at store-bought soy milk the same way again.
Ingredients You’ll Need
This recipe keeps things simple, letting the star ingredient shine. While there aren’t many components, each one makes a difference in taste, texture, or color—whether it’s adding richness, a hint of sweetness, or the right silkiness to your Homemade Soy Milk (with Soy Milk Maker, 豆浆).
- Dried soy beans: The absolute backbone of this recipe! For best results, use high-quality, non-GMO soybeans, as they’ll deliver a cleaner, more full-bodied flavor.
- Filtered water: Clean water is key for that fresh, pure taste—skip the tap if your water isn’t soft or filtered.
- Agave syrup or maple syrup (optional): A natural way to sweeten your soy milk if you like it a touch on the sweeter side—totally customizable.
- Soybean pulp (okara): Don’t toss this byproduct! It’s perfect for making a bonus savory pancake with the leftover pulp.
- Flour: This helps bind the okara together if you decide to whip up the pancake, making it fluffy and golden when fried.
- Large egg: Just one is needed to add structure and richness to your okara pancake.
- Green onions, chopped: These bring a fresh pop of flavor and a splash of color to your savory side.
- Salt: A pinch goes a long way in bringing out all the other flavors.
- White pepper: Adds a hint of gentle warmth without overpowering the delicate soy taste.
- Peanut or vegetable oil: For pan-frying the okara pancake, giving it that irresistible crispy edge.
- Black sesame seeds (optional): A finishing touch—nutty, toasty, and always photogenic as a garnish.
How to Make Homemade Soy Milk (with Soy Milk Maker, 豆浆)
Step 1: Measure and Rinse the Soy Beans
Start by using the measuring cup that came with your soy milk maker for accuracy—add 1 and 1/2 cups of dried soy beans to a bowl. Give the beans a good rinse once or twice under tap water, swirling them around to get rid of any dust or grit. Drain them well, then top off with plenty of water to cover the beans by at least an inch. This step wakes up the beans and preps them for maximum creaminess.
Step 2: Soak the Beans (or Use Dry!)
If you want rich and mellow Homemade Soy Milk (with Soy Milk Maker, 豆浆), soak the rinsed beans overnight or for at least 6 hours. This softens them, making for a smoother grind. In a rush? You can skip soaking in some machines and go straight to the next step with dry beans—just check your soy milk maker’s instructions first!
Step 3: Add Beans and Water to Your Machine
Drain the soaked beans and place them into the soy milk maker. Fill with filtered water up to the 1700ml mark. The right bean-to-water ratio is crucial for that perfect creamy but drinkable consistency. Use the water marker for accuracy—trust me, your taste buds will appreciate it!
Step 4: Start the Magic
Secure the lid on the soy milk maker, plug in, and listen for that happy beep—it’s off to the races! Select the “soaked beans” setting (or “dry beans” if you skipped soaking). After two confirming beeps, you’re on your way. The initial loud noise means the beans are being ground and heated, so don’t be startled! The machine will work its magic for about 30 minutes, intermittently mixing just like a blender.
Step 5: Wait, Then Strain
After the cycle, the machine will beep for a minute and switch to “keep warm” for up to an hour. Don’t leave your soy milk inside for more than 4 hours—transfer promptly for freshness. Carefully pour the hot soy milk through the fine mesh strainer (included with your machine) into a clean jar. Use a small spoon to help all the liquid filter through, pressing on the okara to get every last drop of soy milk out.
Step 6: Flavor and Enjoy
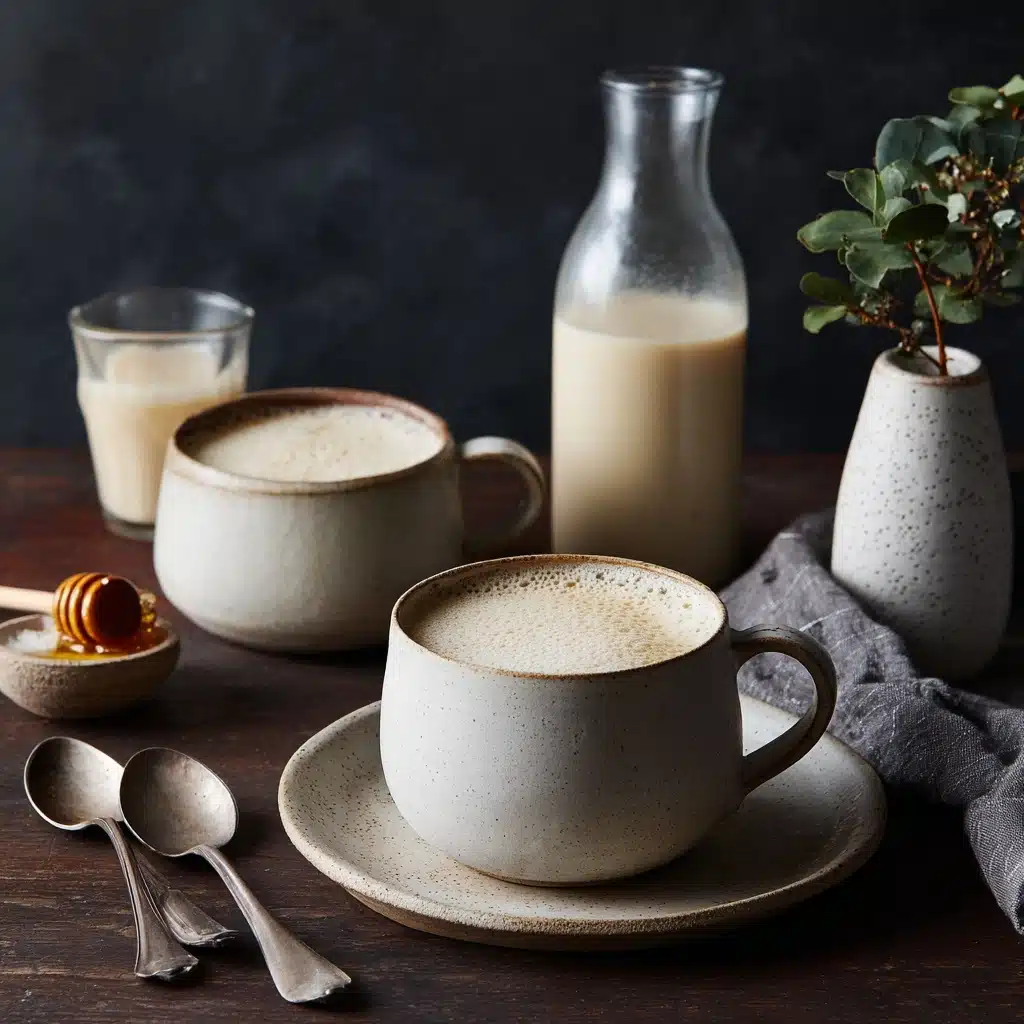
Your Homemade Soy Milk (with Soy Milk Maker, 豆浆) is ready! Taste it just as it is, or stir in a spoonful of agave or maple syrup for sweetness. For an added twist, a drop or two of vanilla extract can mellow the bean flavor. Enjoy warm right away, or chill for later—either way, it’s beautifully fresh and customizable to your liking.
How to Serve Homemade Soy Milk (with Soy Milk Maker, 豆浆)
Garnishes
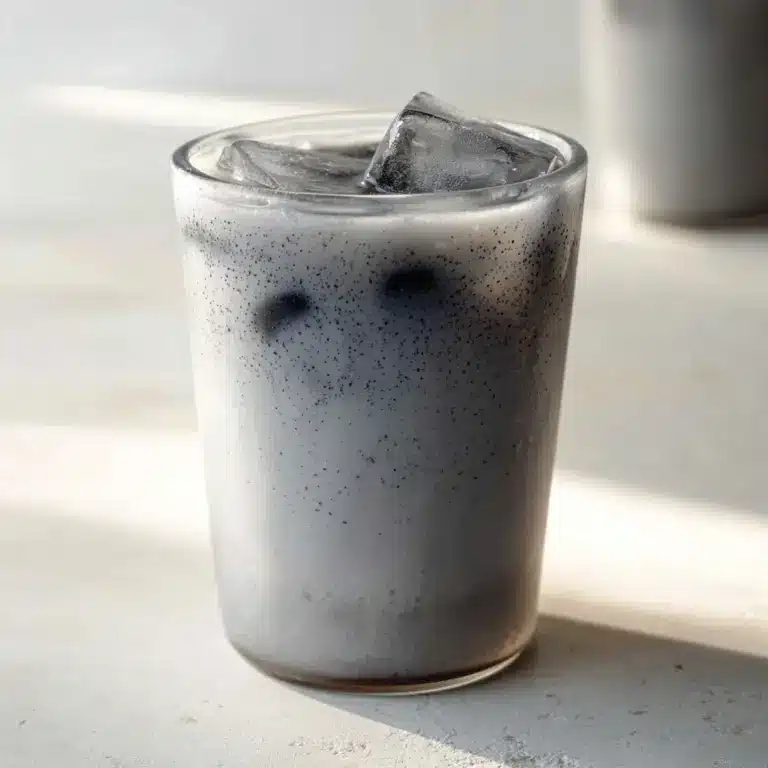
A sprinkle of black sesame seeds on top creates a dramatic contrast and adds toasty flavor, while a drizzle of honey or maple sends a gently sweet note. For festive breakfasts, you could even swirl in a pinch of matcha powder or a few chia seeds—let your imagination run wild!
Side Dishes
Pair your Homemade Soy Milk (with Soy Milk Maker, 豆浆) with steamed buns, bao, or your favorite dim sum for a truly nostalgic breakfast. Or, whip up a quick savory okara pancake with the leftover soy pulp by mixing okara with a little flour, egg, chopped green onions, a pinch of salt, and white pepper—pan-fry in peanut oil for a wholesome snack. The soft, mild flavor of soy milk complements almost anything on the table.
Creative Ways to Present
For an eye-catching brunch, serve your soy milk in small glass bottles or jars with pretty paper straws. If you’re hosting friends or family, pour it into a carafe alongside little bowls of toppings—sesame, chopped nuts, honey, or cinnamon—and let everyone dress up their drink. It turns breakfast into an interactive treat!
Make Ahead and Storage
Storing Leftovers
After letting your soy milk cool to room temperature, transfer it into airtight jars or bottles. Homemade Soy Milk (with Soy Milk Maker, 豆浆) keeps well in the refrigerator for three to four days. Always use clean utensils to pour and avoid cross-contamination for the longest shelf life.
Freezing
If you don’t think you’ll finish your batch right away, soy milk freezes surprisingly well! Pour into freezer-safe containers, leaving space for expansion. Thaw overnight in the fridge and give it a good shake before drinking—there may be a little separation, but it’s perfectly normal and easily fixed.
Reheating
Gently warm your Homemade Soy Milk (with Soy Milk Maker, 豆浆) on the stovetop over low heat, stirring frequently. Avoid bringing it to a boil, as soy milk can foam up dramatically. Microwaving is fine for a single cup—just heat in short intervals, stirring in between, until hot.
FAQs
Can I use other beans or nuts to make non-soy milk in my soy milk maker?
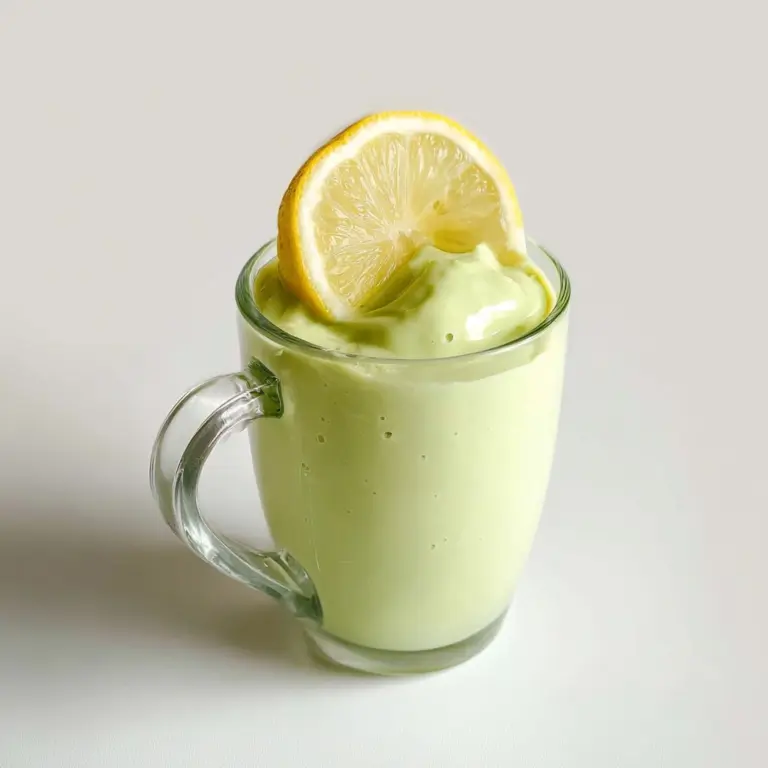
Absolutely! Most machines also allow you to use nuts (like almonds) or grains for various dairy-free milks. Always check your specific machine’s manual for guidance and adjust ratios accordingly.
Why does my soy milk taste “beany” sometimes?
That stronger flavor often comes from the type of soybean used or from not rinsing/soaking thoroughly. Try fresh, high-quality beans and soak them longer for a milder, cleaner-tasting Homemade Soy Milk (with Soy Milk Maker, 豆浆).
How do I use the leftover okara?
Don’t throw it out! Okara makes fantastic pancakes, muffins, or can be blended into veggie patties. It’s nutritious and full of fiber, so think of it as a bonus ingredient for future kitchen creativity.
Can I store soy milk at room temperature?
Homemade Soy Milk (with Soy Milk Maker, 豆浆) is highly perishable. It needs to be refrigerated as soon as it’s cooled to room temperature; leaving it out risks spoilage and off flavors, especially in warmer kitchens.
Is it safe to drink unfiltered soy milk?
To ensure the best texture and digestibility, always strain your soy milk through the mesh strainer provided. This step removes the gritty pulp and leaves you with silky-smooth, delicious soy milk to enjoy.
Final Thoughts
There’s just nothing like pouring yourself a glass of ultra-fresh Homemade Soy Milk (with Soy Milk Maker, 豆浆) made in your own kitchen. It’s simple, rewarding, and so much tastier than anything store-bought. Give this recipe a try and see for yourself—once you taste how vibrant and creamy homemade can be, you’ll definitely want to make it again and again!
Print
Homemade Soy Milk (with Soy Milk Maker, 豆浆) Recipe
- Total Time: 45 minutes
- Yield: 1.5 liters soy milk 1x
- Diet: Vegan
Description
Learn how to make delicious homemade soy milk using a soy milk maker. This recipe yields smooth, creamy soy milk that is perfect for drinking on its own or using in various recipes. Enjoy the natural flavors of soybeans with this easy-to-follow recipe.
Ingredients
Soy Milk:
- 1 and 1/2 cups dried soy beans
- 7 cups filtered water
Optional:
- Agave syrup or maple syrup
- Black sesame for garnish
Okara Pancake:
- 1/4 cup soy bean pulps (okara)
- 1/2 cup flour
- 1 large egg
- 2 green onions, chopped
- 1/4 teaspoon salt
- 1/8 teaspoons white pepper
- 2 to 3 tablespoons peanut oil (or vegetable oil)
Instructions
- Prepare Soy Milk: Rinse and soak soybeans overnight. Drain and add to the soy milk maker with water. Start the machine.
- Wait for Completion: Allow the machine to process the soy milk for 30 minutes until done.
- Strain Soy Milk: Pour the milk through a fine mesh to remove soy pulp.
- Serve: Enjoy hot or cold with sweeteners of choice.
- Store: Cool and transfer to airtight jars for refrigeration.
Notes
- For a smoother texture, you can strain the soy milk multiple times.
- Experiment with different sweeteners to find your preferred taste.
- Use the leftover soy pulp (okara) for recipes like pancakes or smoothies.
- Prep Time: 15 minutes
- Cook Time: 30 minutes
- Category: Beverage
- Method: Boiling, Straining
- Cuisine: Asian
Nutrition
- Serving Size: 1 cup (240ml)
- Calories: 90
- Sugar: 1g
- Sodium: 30mg
- Fat: 4g
- Saturated Fat: 0.5g
- Unsaturated Fat: 3g
- Trans Fat: 0g
- Carbohydrates: 6g
- Fiber: 1g
- Protein: 7g
- Cholesterol: 0mg
Keywords: soy milk, homemade, soybean, soy milk maker, Asian, vegan, beverage


