
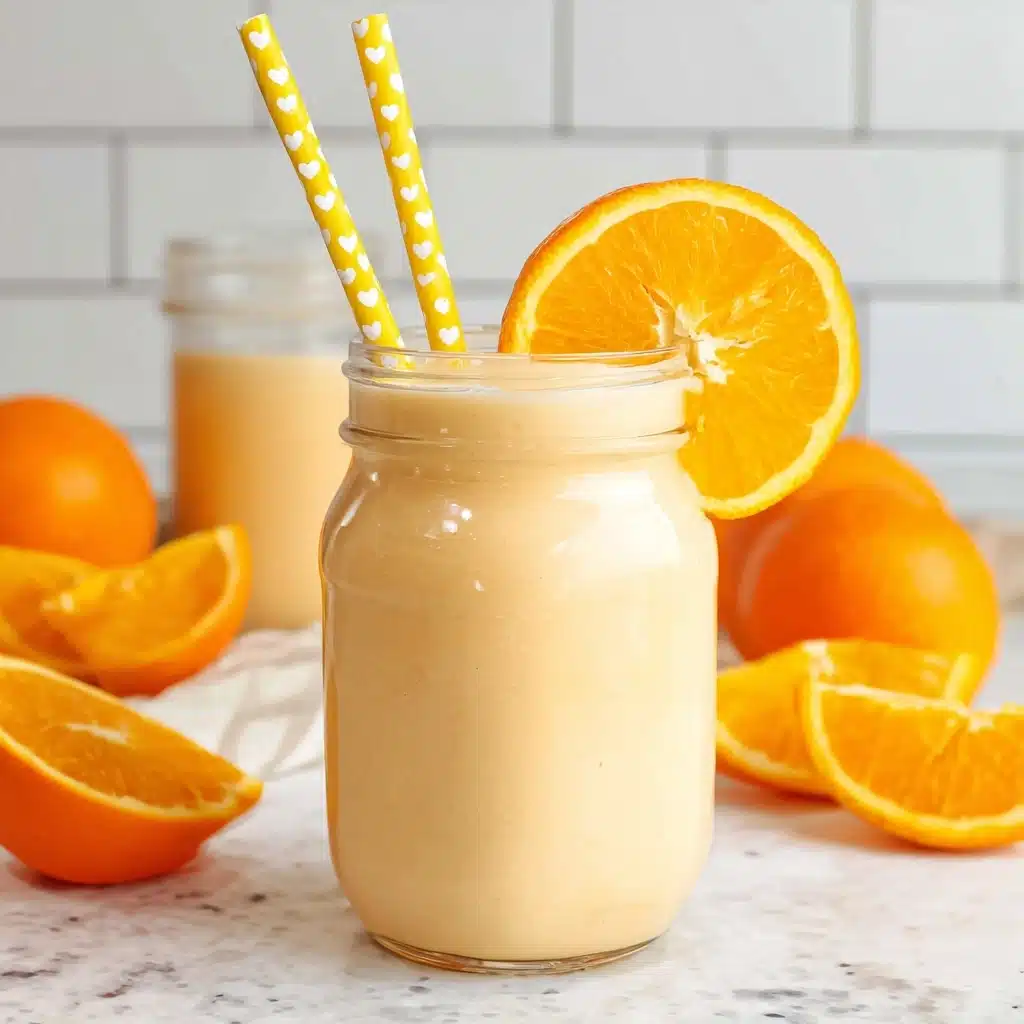
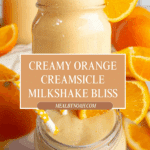
Orange Creamsicle Milkshake Recipe
If there’s anything more nostalgic and blissfully refreshing than an Orange Creamsicle Milkshake, I haven’t found it! This dreamy treat captures the joyful spirit of summer with its decadent blend of creamy vanilla and zesty orange, all swirled into an impossibly smooth, frosty shake. Whether you’re whipping one up for a lazy afternoon snack or treating guests to a retro-inspired dessert, you’re about to discover just how easy it is to enjoy this classic flavor at home — and why everyone falls in love with that first cool sip.
Ingredients You’ll Need
The beauty of this Orange Creamsicle Milkshake is how it transforms a handful of simple ingredients into pure joy. Each one adds essential flavor and texture — don’t skip any if you want that true creamsicle magic. Here’s a quick rundown of what you’ll need and why it matters.
- Heavy cream: This is the base of all things rich and silky, making your milkshake extra luscious and indulgent.
- Sugar: Sweetness levels are just right with this; a little goes a long way to balance the tangy orange.
- Vanilla: Adding vanilla brightens every sip and helps recreate that classic creamsicle nostalgia.
- Vanilla bean ice cream: The hero of this shake, it lays down creamy vanilla depth and that scoop-shop texture.
- Orange juice concentrate: Intensely citrusy and not diluted, this brings the big orange flavor that sets the milkshake apart.
How to Make Orange Creamsicle Milkshake
Step 1: Blend Cream, Sugar, and Vanilla
Start by pouring the heavy cream, sugar, and vanilla into your blender. Give them a moment to mingle before you even turn it on. Blending these together first ensures the sugar dissolves evenly and the base is as smooth and sweet as it should be.
Step 2: Add Ice Cream and Orange Juice Concentrate
Next, scoop in the vanilla bean ice cream — don’t worry if it’s a bit firm, that just means a thicker, more chilled result. Pour in the orange juice concentrate and let the blender work its magic. In just a few pulses, you’ll see a creamy, orange-hued mixture come to life, ready for the most important step: chilling.
Step 3: Freeze the Shake
This little trick is a game-changer for the Orange Creamsicle Milkshake! Pour the blended shake into a freezer-safe container and let it firm up for 30 to 60 minutes. This time in the freezer thickens everything wonderfully, giving you that irresistible frostiness you expect from a true milkshake.
Step 4: Serve and Savor
Once your milkshake has reached ideal chill factor, get ready to serve. Pour into tall glasses, pop in a straw, and don’t forget the final flourish: a slice of fresh orange perched on the rim. All that’s left is to take a sip and let the waves of creamy-citrus throw you back to childhood summers.
How to Serve Orange Creamsicle Milkshake
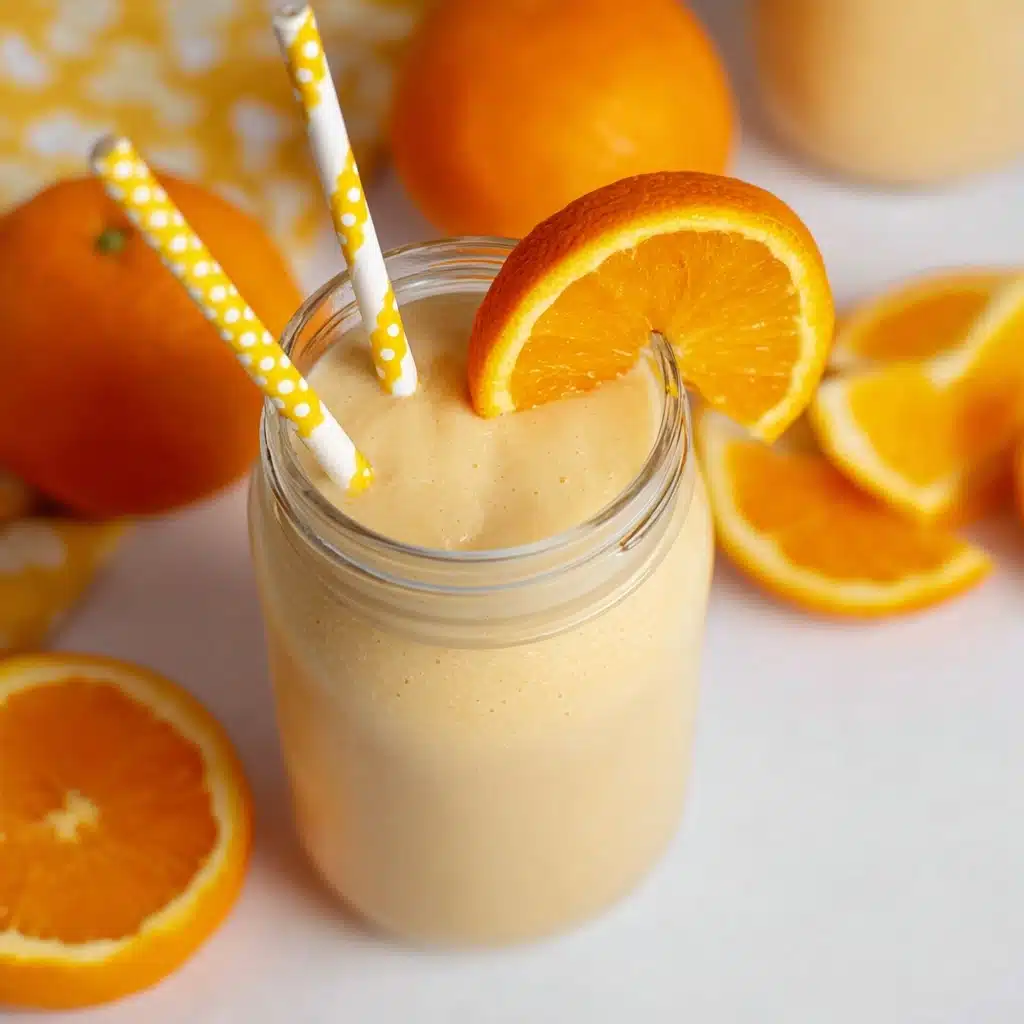
Garnishes
No Orange Creamsicle Milkshake would be complete without a playful, eye-catching finish! Top each glass with a plump orange slice for a pop of color, a swirl of whipped cream if you’re feeling extra decadent, or even a sprinkle of orange zest to amp up citrus aroma. These little touches transform your milkshake into something truly special every time.
Side Dishes
This milkshake stands pretty tall on its own, but if you want to turn things into a full-on treat, pair it with simple sugar cookies, buttery shortbread, or a fresh fruit salad. These lighter sides perfectly complement the rich, creamy shake without overpowering those signature flavors.
Creative Ways to Present
Serving a crowd or hoping to wow your family? Pour your Orange Creamsicle Milkshake into mini mason jars, rim them with colored sugar, or use vintage milkshake glasses for classic diner vibes. For parties, top each glass with a mini popsicle stick for playful effect — or try floating a scoop of vanilla ice cream right in the center for an extra frosty flourish!
Make Ahead and Storage
Storing Leftovers
If you somehow have any leftovers (which is rare!), transfer them to an airtight container and keep in the freezer. The milkshake will stay deliciously creamy for up to two days, though it may firm up a bit — think more like a scoopable creamsicle treat than a drink.
Freezing
For a make-ahead twist, blend the Orange Creamsicle Milkshake as directed, pour into popsicle molds, and freeze overnight. These frozen pops are a fun and portable spin, perfect for hot days or party platters. Just store the popsicles in their molds or run under warm water to release when ready to serve.
Reheating
Since this is a milkshake, “reheating” is just a matter of letting it sit on the counter! If your shake has gotten too firm in the freezer, simply let it stand at room temperature for 10-15 minutes, or gently break it up with a spoon until it’s sippable again. Give it a quick blend if needed to restore that super-smooth consistency.
FAQs
Can I make the Orange Creamsicle Milkshake dairy-free?
Absolutely! Swap the heavy cream and ice cream for your favorite plant-based versions (like coconut or oat), and make sure your vanilla is pure extract for the best taste. The orange flavor still shines through beautifully.
Do I have to use orange juice concentrate, or can I use fresh orange juice?
Orange juice concentrate is key for that intense, nostalgic flavor, but you can use fresh juice in a pinch. Just know that your milkshake will be a bit lighter and not quite as vivid in flavor or color.
How can I make the Orange Creamsicle Milkshake thicker?
If you love an ultra-thick shake, add an extra scoop of ice cream or let your base chill a little longer in the freezer before serving. Both tricks result in a shake you can almost eat with a spoon!
Can I add alcohol to make this an adult treat?
For a grown-up spin, a shot of orange liqueur or vanilla vodka blends in perfectly, turning your milkshake into a dreamy dessert cocktail. Just blend in with the rest and enjoy responsibly!
Is this recipe gluten-free?
Yes! All the ingredients in this Orange Creamsicle Milkshake are naturally gluten-free, but it’s always smart to double-check your labels, especially on ice cream and vanilla extract, for any hidden sources of gluten.
Final Thoughts
There’s something about a cold, creamy Orange Creamsicle Milkshake that just delivers pure joy in a glass. Whether you’re chasing summer memories or sharing a retro delight with friends, this recipe fits every mood and occasion. So go ahead, grab your blender, and treat yourself — your taste buds will thank you!
Print
Orange Creamsicle Milkshake Recipe
- Total Time: 40-70 minutes
- Yield: Makes 4 servings 1x
- Diet: Vegetarian
Description
Indulge in the nostalgic flavors of a classic Orange Creamsicle with this creamy and refreshing milkshake recipe. Perfect for a hot summer day or anytime you crave a sweet treat.
Ingredients
For the Milkshake:
- 2 cups heavy cream
- 1 cup sugar
- 1 tbsp vanilla
- 2½ cups vanilla bean ice cream
- 12 oz orange juice concentrate
Instructions
- In a blender, mix the sugar, cream, and vanilla. Combine until sugar is dissolved.
- Add the ice cream and orange juice concentrate. Blend until smooth and creamy.
- Place the mixture in the freezer for 30-60 minutes. This helps it thicken slightly.
- Serve the milkshake in glasses with a straw and garnish with an orange slice. Enjoy!
- Prep Time: 10 minutes
- Cook Time: 0 minutes
- Category: Beverage
- Method: Blending
- Cuisine: American
Nutrition
- Serving Size: 1 serving
- Calories: 420
- Sugar: 32g
- Sodium: 75mg
- Fat: 28g
- Saturated Fat: 17g
- Unsaturated Fat: 8g
- Trans Fat: 0g
- Carbohydrates: 39g
- Fiber: 1g
- Protein: 3g
- Cholesterol: 90mg
Keywords: Orange Creamsicle, Milkshake, Dessert, Summer Treat

